My Latest Profile Picture: What’s Inside
I’ve recently updated my social media profiles with a new profile picture / avatar, receiving positive response and some curiosity. This is the image, at a high resolution:
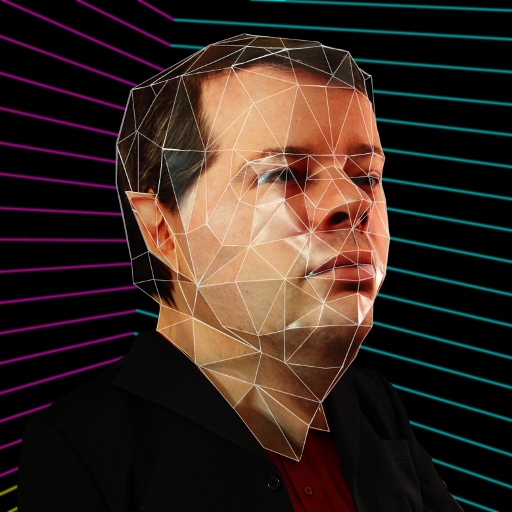
This is a picture of me wearing a picture of me. Read on to find out how this was done.
In 2010 the Electronic Arts Capture Lab had an open house, where employees from the rest of the studio could go by for demos of their equipment. See the video in the above link for examples of what we saw.
One thing they demonstrated was the facial capture rig they used to create high-resolution 3D models of actors’ faces. You can see the rig and part of the process between 0:09 and 0:17 in the video at the above link. It’s a rig containing a lot of digital cameras arranged spherically around the subject, and set up to fire in synchrony along with strategically placed flashes. Specialized software then takes all those photographs and correlates the features visible in them to deduce a textured, 3D digital model of the subject. This is one example of the science of photogrammetry. There is a longer discussion of this process in this thread post.
My colleague David Dixon and I had the idea to use these digitized models of our heads to construct actual physical models of our heads, at a larger-than-life scale, and wear them as Halloween costumes.
David, being the 3D editing wizard among the two of us, simplified the models from thousands of polygons down to dozens. Here are before (top) and after (bottom) screenshots of my model showing his work. Note the bottom one uses a corrected version of the skin texture (which I unfortunately lost the high-resolution version of) which explains the differences in skin tone and detail.
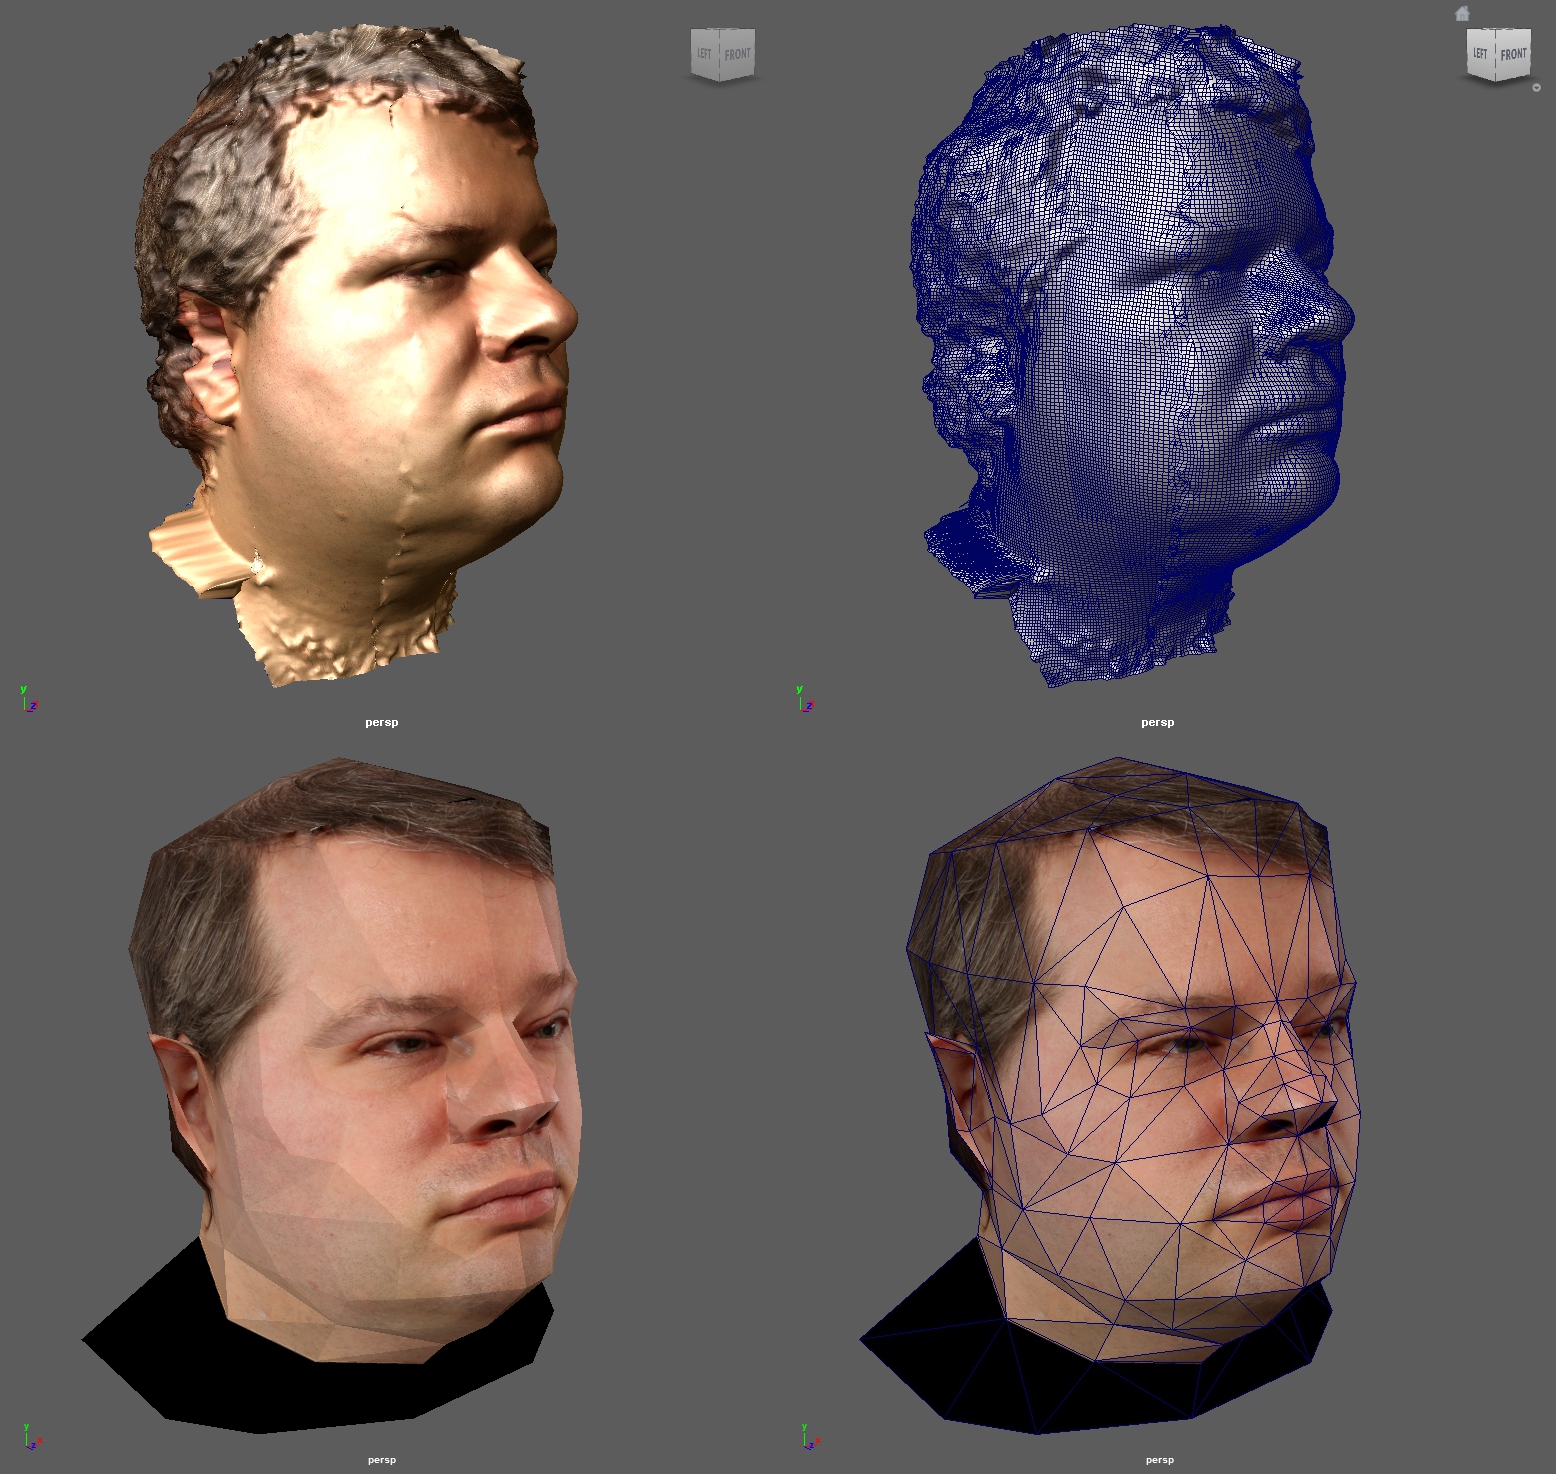
You can see the original model had quite a bit of surface noise to be cleaned up, including what looks like fractures in my cheeks but are probably registration errors.
We then imported the simplified model into Tamasoft PepaKura, which segmented it into flattenable pieces and added glue tabs, resulting in many pages of fragments that looked like this:
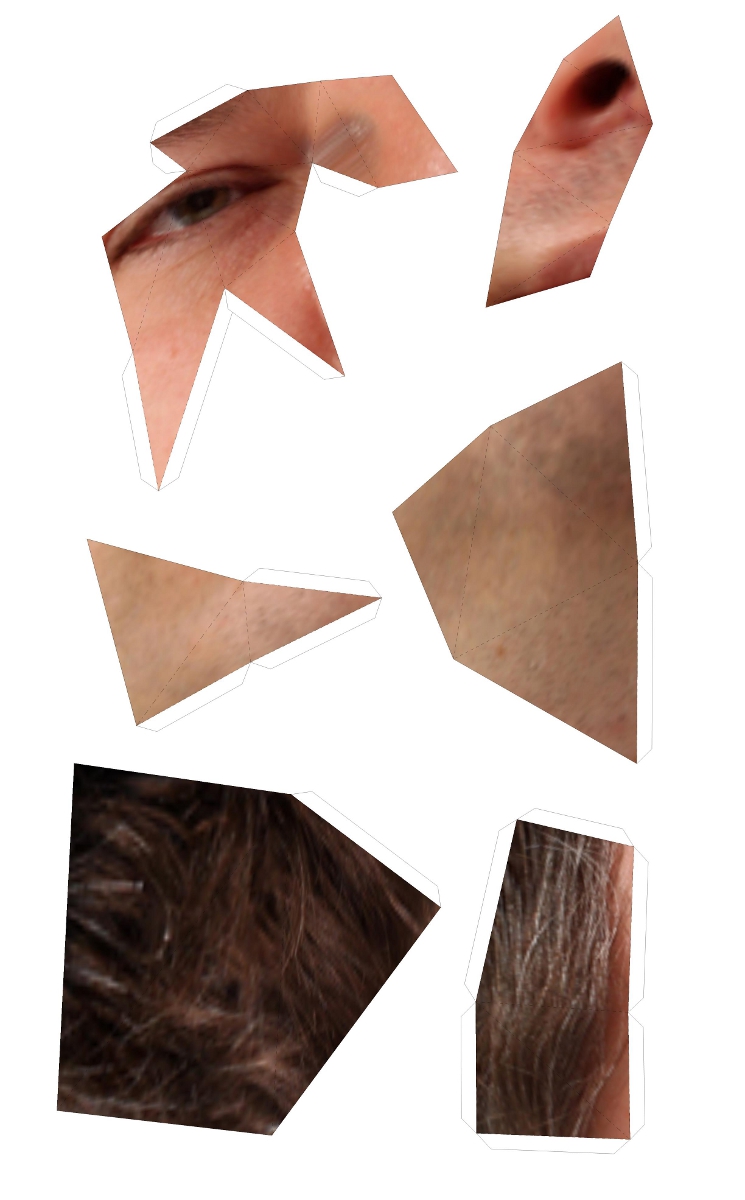
We had these printed on stiff paper at Staples, then spent hours gluing them together.
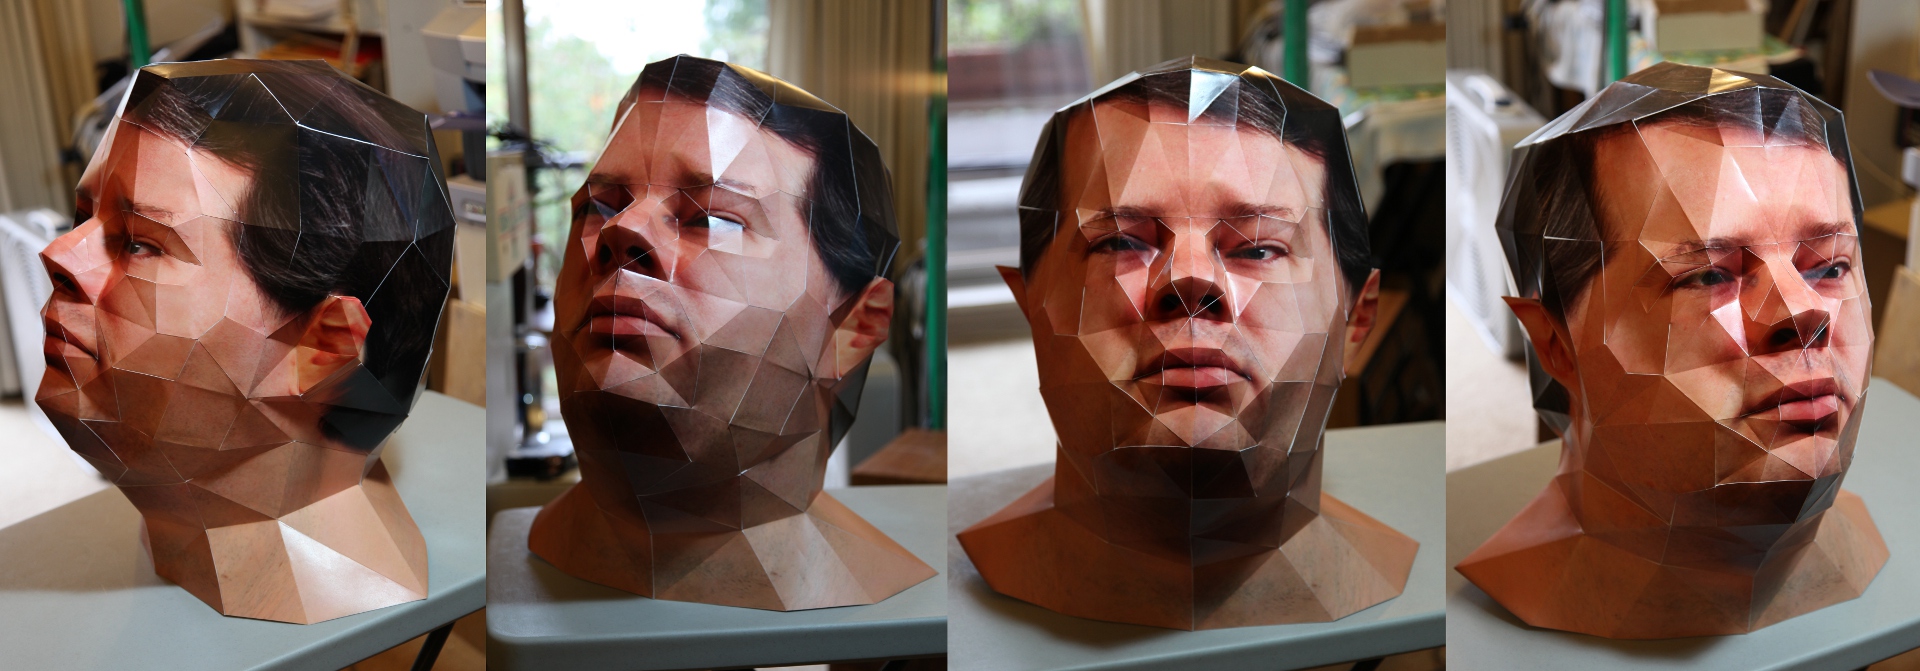
Here’s what mine looked like from a few angles the morning I finished it (I worked overnight to finish it in time):
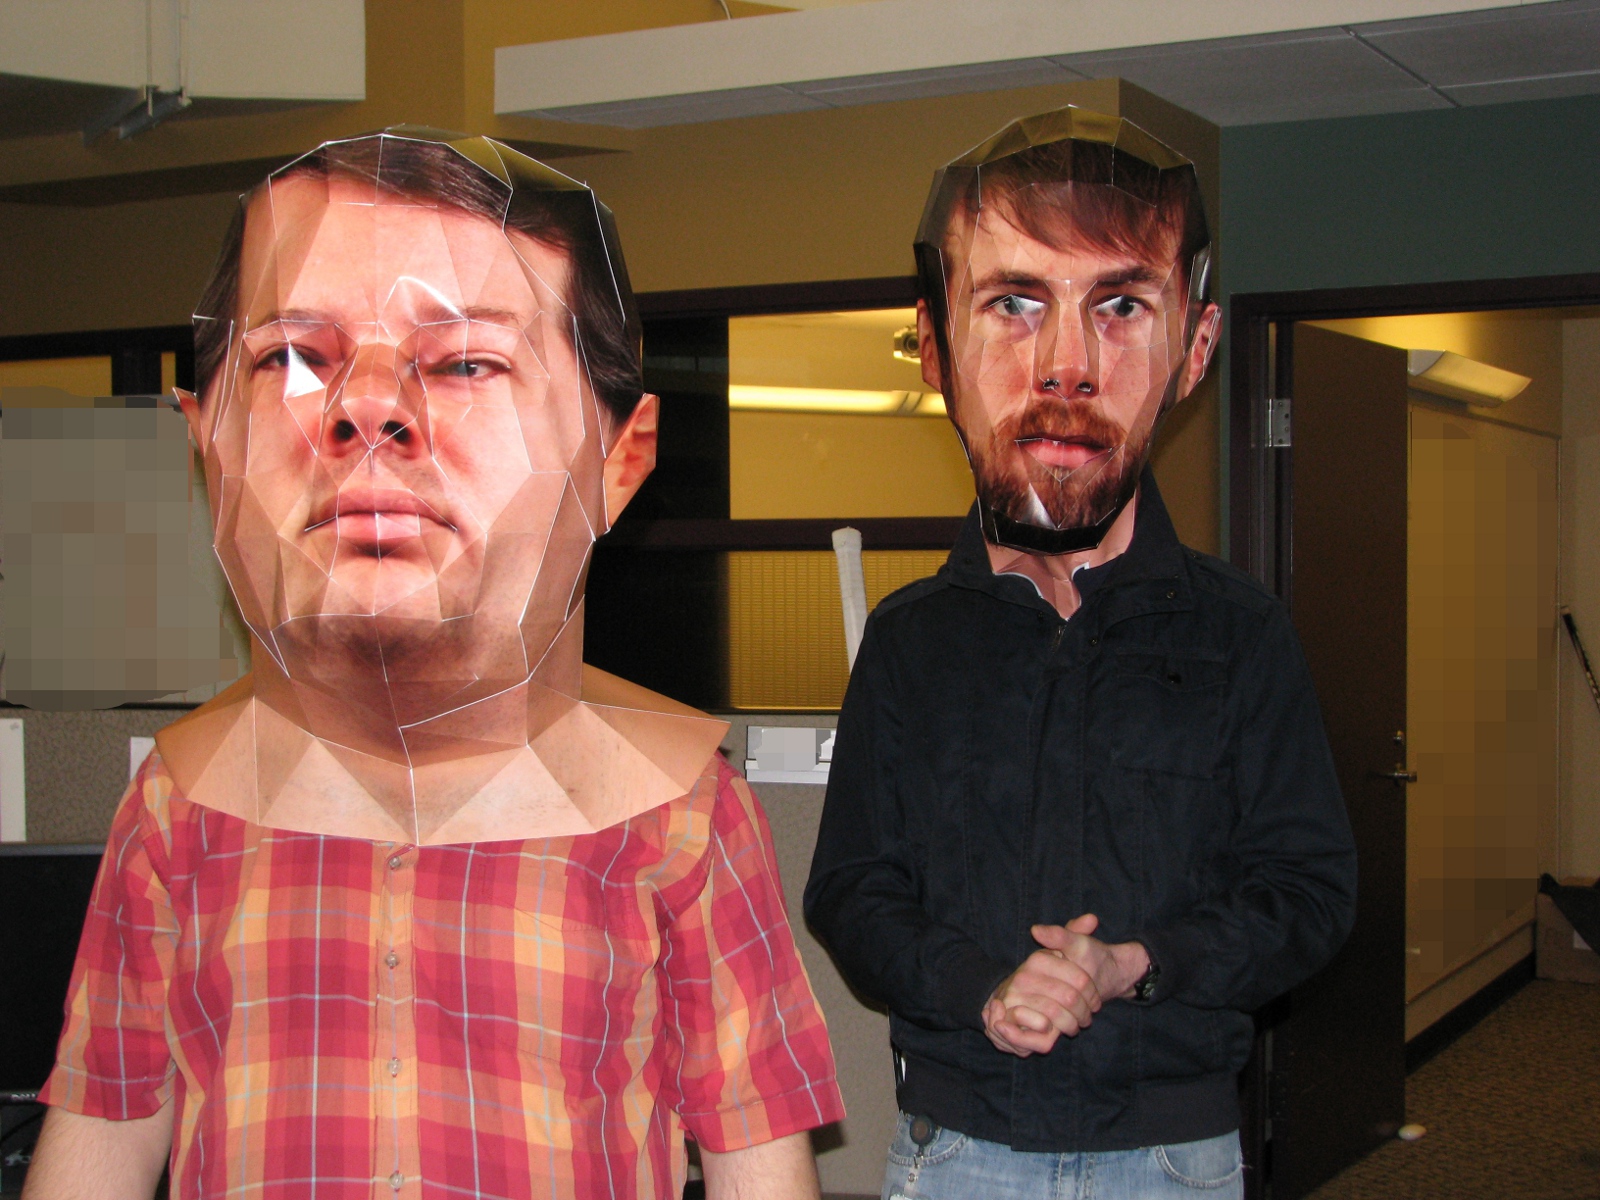
And here are David and I showing them off at the office later that day:
For the profile picture image, I set up a mini studio in my apartment and had my visiting parents help me fit my suit jacket over the shoulders of the model (since I can’t see anything when I’m wearing it) and operate the camera for me. I then digitally emphasized the edges between the polygons and removed the background and replaced it, appropriately, with one of the iconic Max Headroom backgrounds.
So there you have it: A long, technical and involved but creative and fun project that lets me wear an oversized 3D photo of my head over top of my real head.