Linear Timelapse Robot v1
Just in case anyone is following me via RSS, I just posted a new static page about my latest electronics project, a prototype motion control robot for making timelapse movies.
End of the Roll
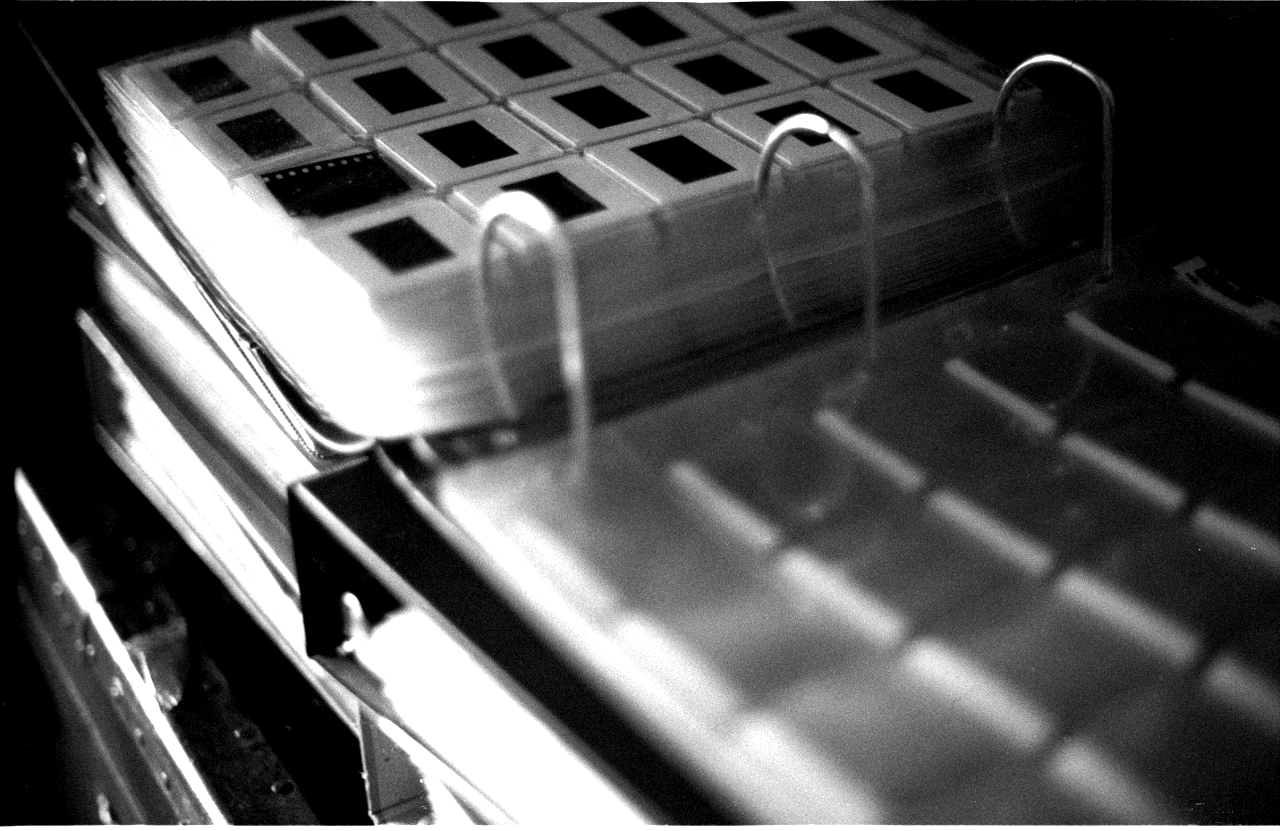
I just finished shooting and scanning my last rolls of photographic film. I’m done shooting film for the foreseeable future, and am going fully digital. Granted those last four rolls have been sitting unused in my fridge for six or seven years already, but their presence bothered me and now that they’re done I have some closure.
With those last rolls out of the way, I also have closure on a project that turned out to be much larger than I expected: Scanning all my film into the computer. In my approximately 32 years of shooting film I amassed 300 rolls, for a total of just over 9,000 images. That may seem tiny compared to what a typical professional film photographer would have, but it takes up to three hours to scan each roll. This scanning job has been done in bits and pieces of my spare time over the last ten years, but if I had been doing it as a full-time job it would have taken me four months!
I bought a dedicated film scanner (Nikon Super CoolScan 5000ED) for this purpose ten years ago, hoping that its batch scanning workflow would help automate the process so I could do other things at the same time. It did, but the scanner software is so flaky that most of the time I got to do other things in parallel just because of the length of time it took to scan each negative; on average I had to scan each film strip image about 1.5 times because of software glitches. Also the batch mode only works for film strips and half my film is mounted slides – but at least scanning individual frames did not expose as many bugs in the software as strips. I considered upgrading to a newer scanner for the latter half of the project, but there were not enough technology improvements to justify the expense.
Anyway, that’s all done now. What’s left is the almost as huge task of cataloging and tagging all my photos. I put a fair bit of effort into researching DAM (Digital Asset Management) software a few years ago and decided on idImager, which appears to have since been rebranded Photo Supreme, as it met more of my requirements for a better price than anything else I looked at. I’ve tried it and quite like it; the tagging and versioning workflow is great, it has some nice bonus features too.
For the record, my 9,000 scanned film photos take up just over 1TB of disk space – I’ve scanned them at 4,800 dpi or higher in 48-bit color, and they don’t compress well because of film grain and sensor noise. A typical image is 120MB big.
I’m really happy to have the scanning project over and done with. That was a lot of work.
This seems like a good time for a retrospective on my personal history with film and film cameras.
When I was a child my mother shot black and white on her Yashica-Mat TLR, and did her own darkroom work. She sometimes let me help with the developing and showed me how to play with the projector to make contact images of household objects and toys – I think that’s where my initial interest came from. It’s magic to shine a light on paper and have a permanent image appear.
—
Keystone 110
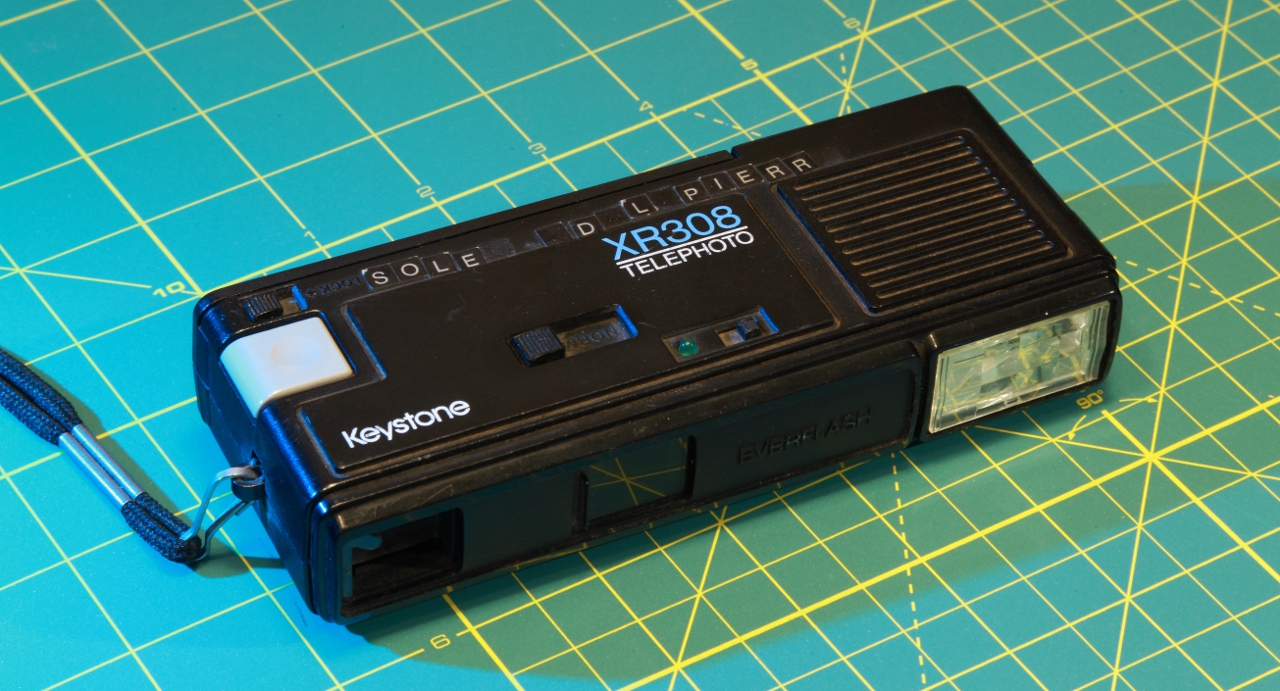
The first camera of my own was a generic pocket-sized 110 camera from Consumers Distributing. It had a built-in permanent flash, two focal lengths and a neat in-viewfinder flash ready indicator that I always wondered at the operation of – it was a clever design feature, lighting up despite having no light built in to the indicator. I shot a lot of what I now call tourist/documentary photos on this unit – that is, photos of interesting places and things, but with very little artistic merit to the photos themselves. I was too young to have developed a sense of what makes a photo great, though towards the end of this camera’s long tenure I started experimenting with composition and with panoramas made by taping prints together.
I also used a couple of disposable 110 cameras and one of those ultra-tiny kids’ “spy cameras” from the comic ads, which fits in the gap in the middle of the 110 cartridge.
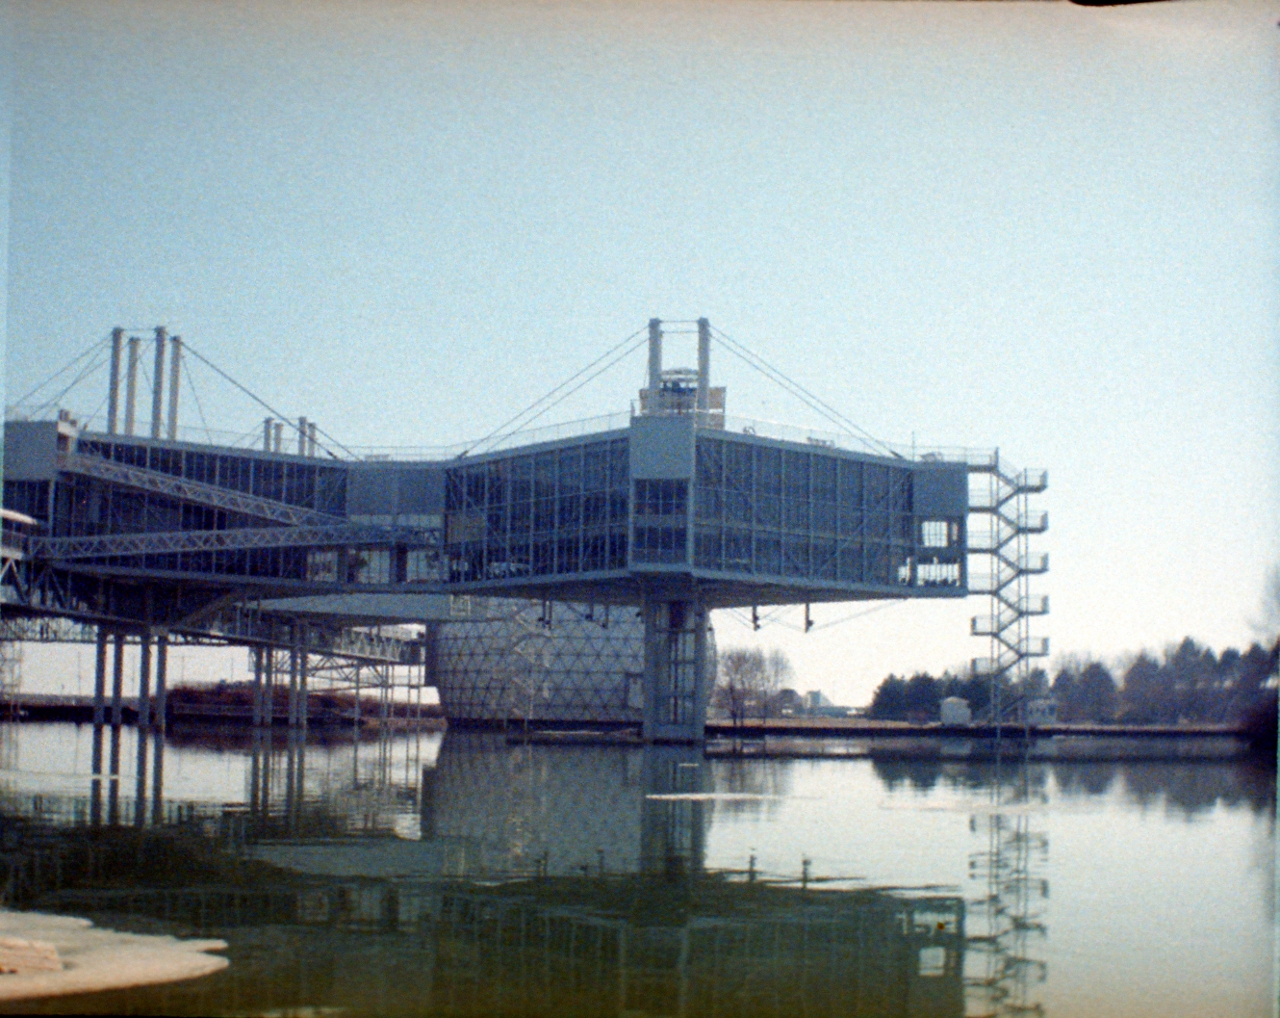
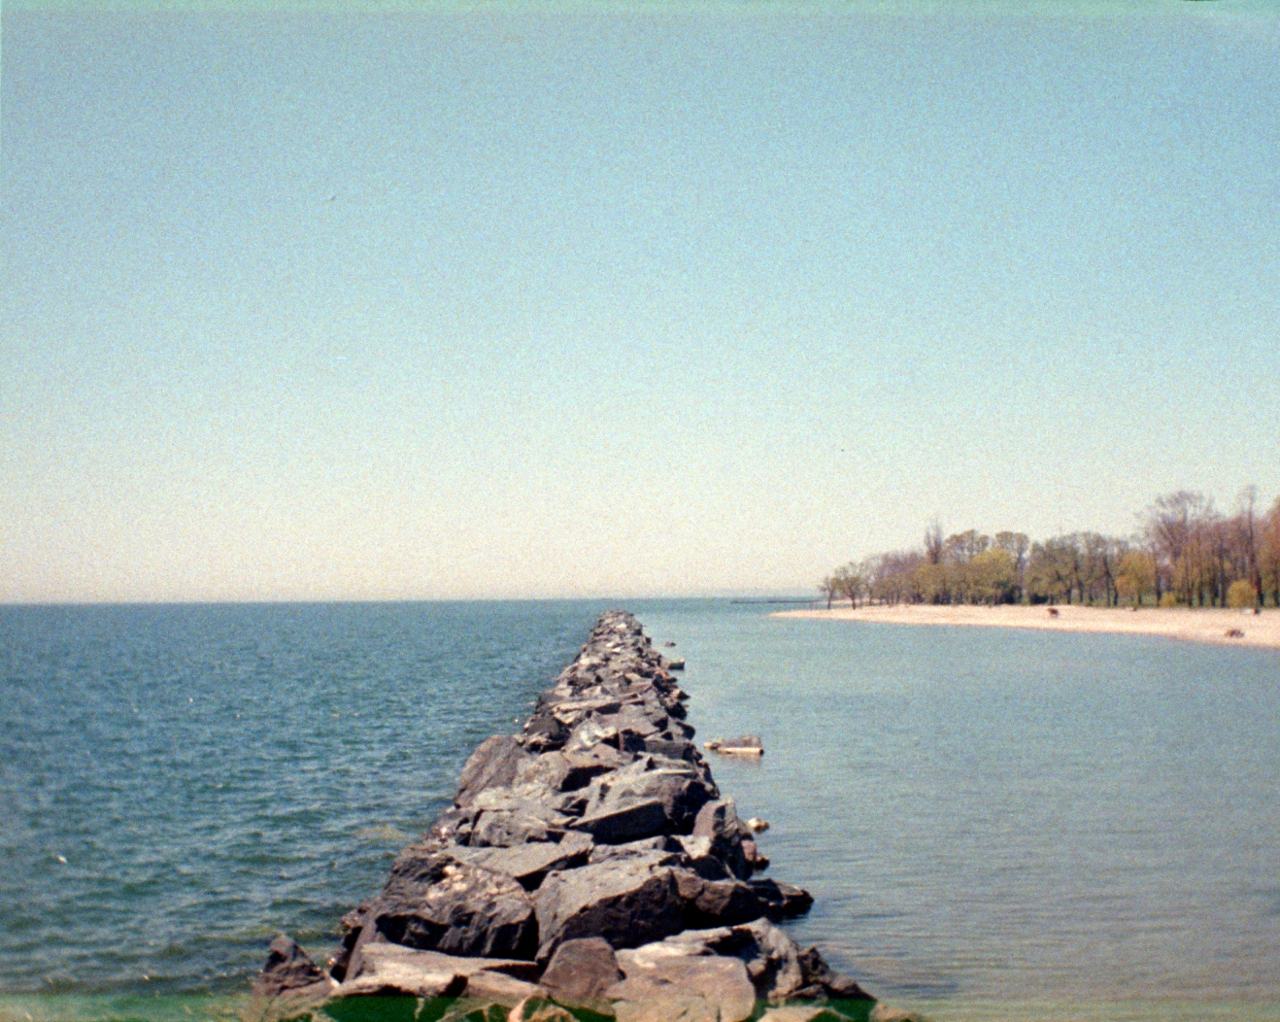
Examples of pictures I took with the 110:
—
The Polaroid
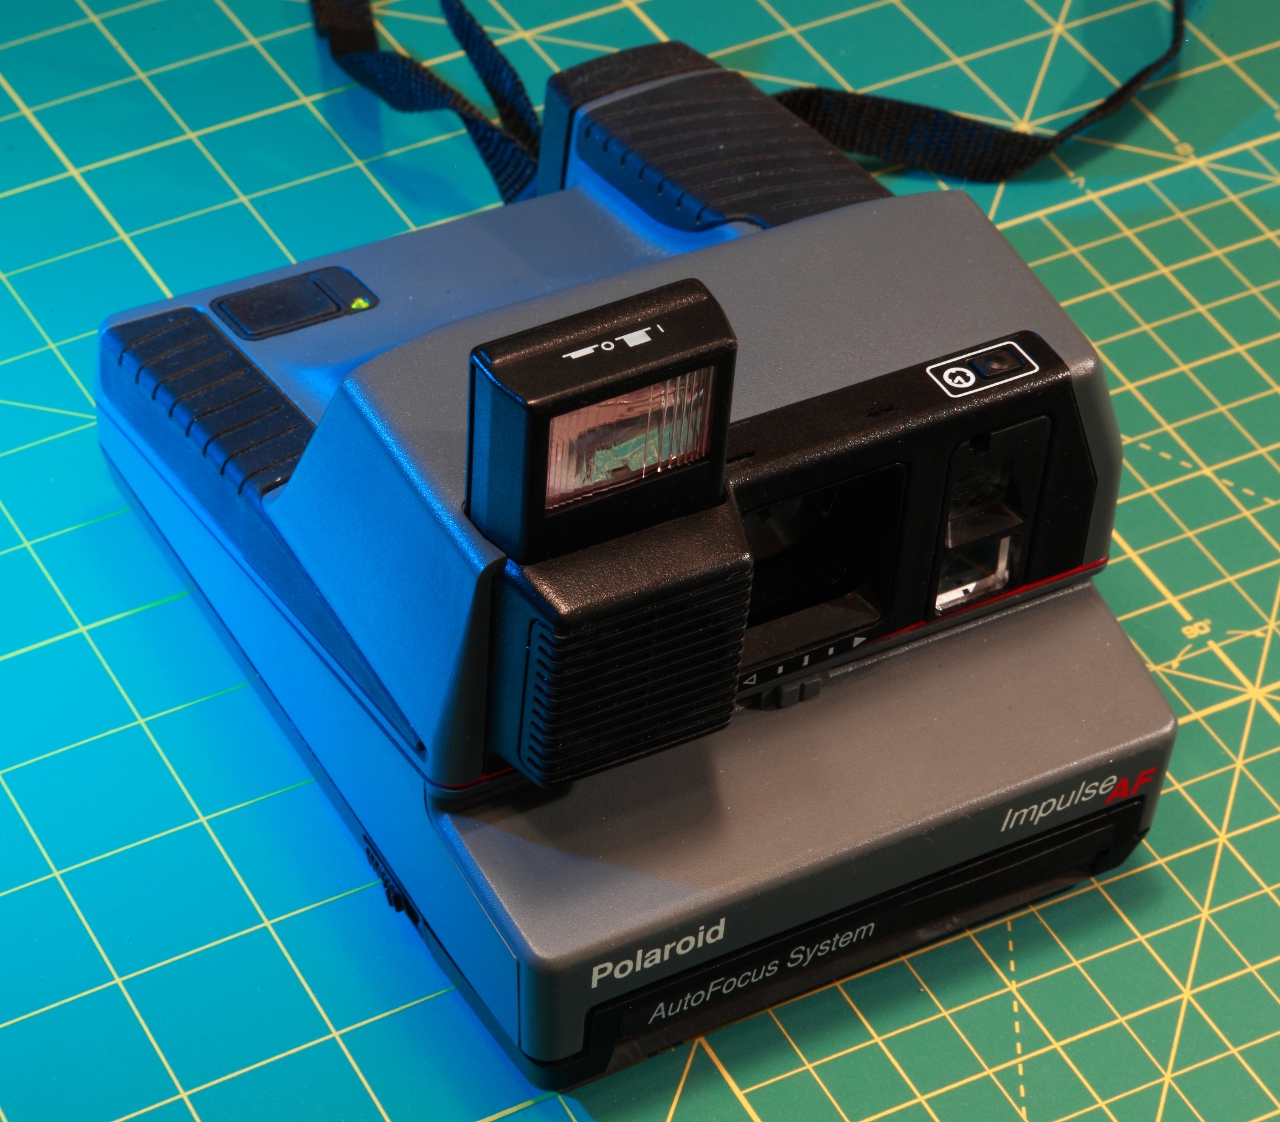
Later I had a Polaroid instant camera. It was cool to get the photos immediately and the color and clarity were much better than on the 110, but the film was relatively expensive per photo and even as a child I recognized the value of having negatives available for reprints and enlargements. The Polaroid didn’t see frequent use because of its limitations, but it did last a long time.
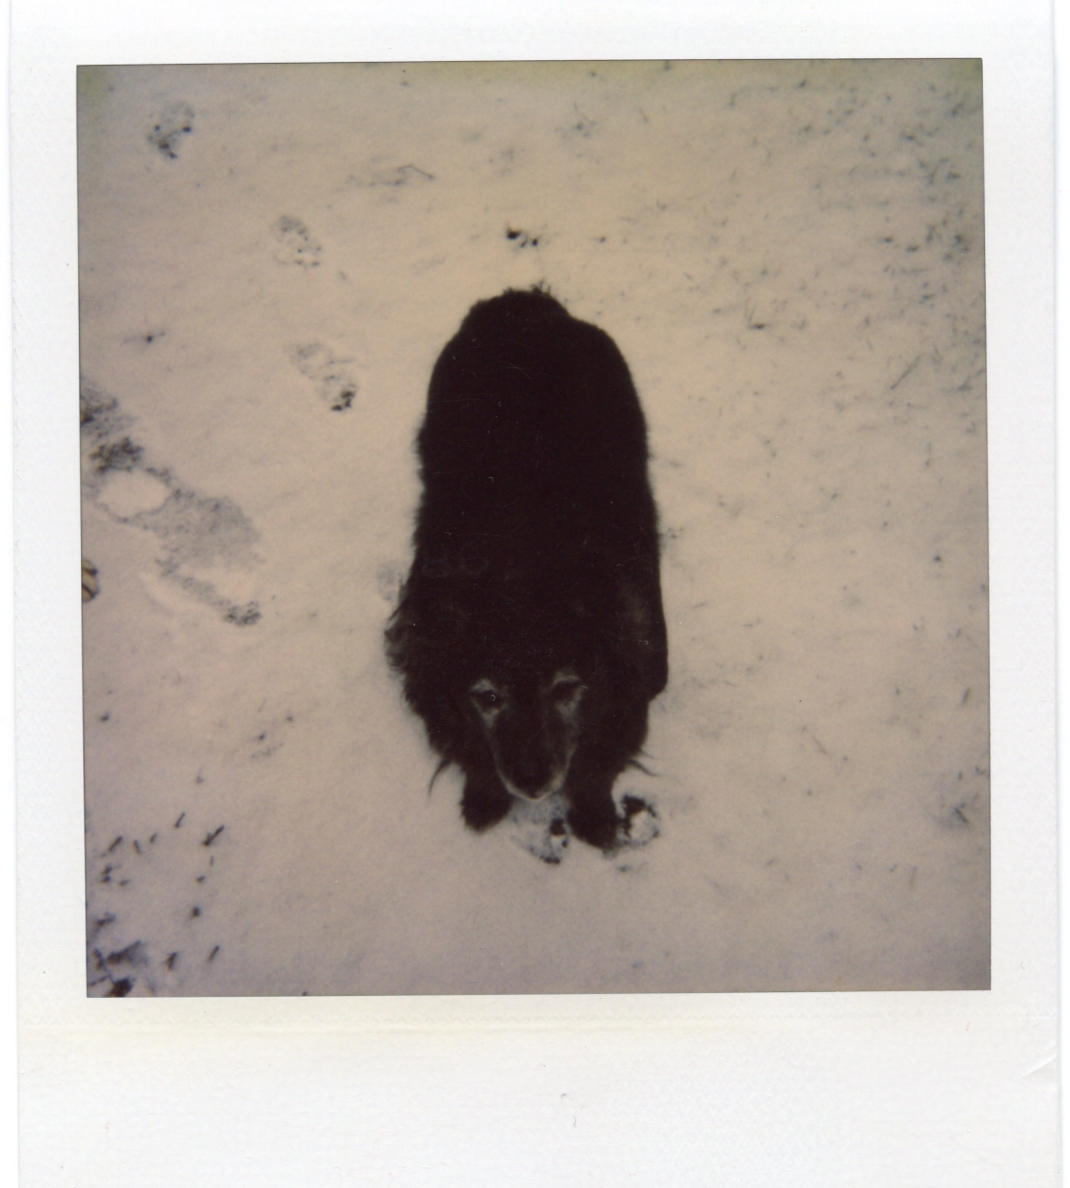
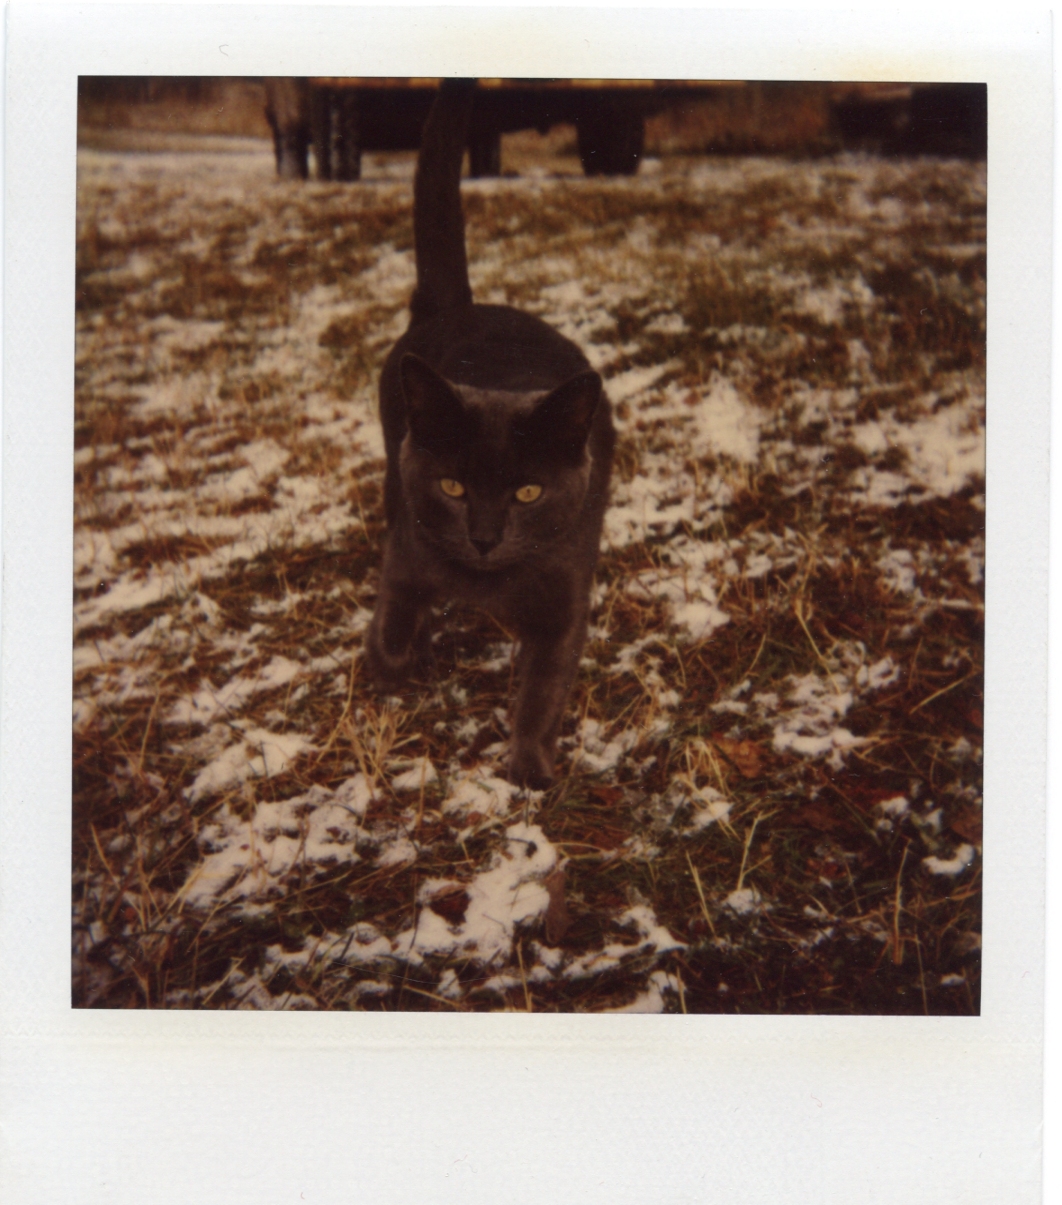
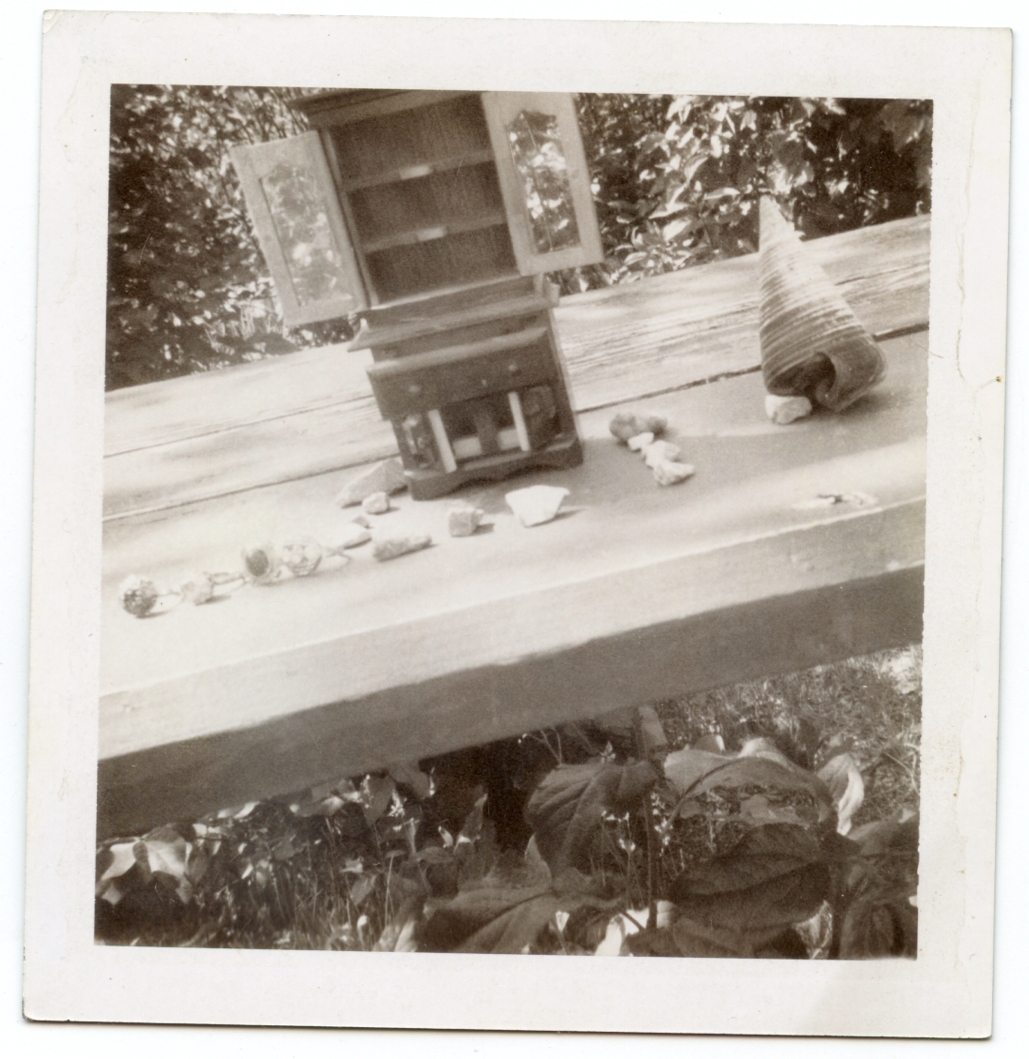
Examples of pictures I took with the Polaroid:
—
The Bellows Camera
Also during my tweens I had an old-fashioned bellows camera. I believe it was a Kodak Tourist II given to me by my mother, based on her notes on her own photos. I didn’t use it much and it didn’t make much of an impression on my memory. Eventually the bellows got too many light-permitting punctures for the camera to work well, so I followed nature’s directive and took it apart to see how it was made.
Examples of pictures I took with the bellows camera:

—
The Pink Camera
My first 35mm camera was a cheap fixed-focus tourist model. This was basically the same deal as my 110 but 35mm instead. I no longer remember even what brand it was, but it look vaguely like this only pink. I got quite a bit of use out of it and started to develop a better sense of composition during this time (most of my teens).
Examples of pictures I took with the pink camera:
—
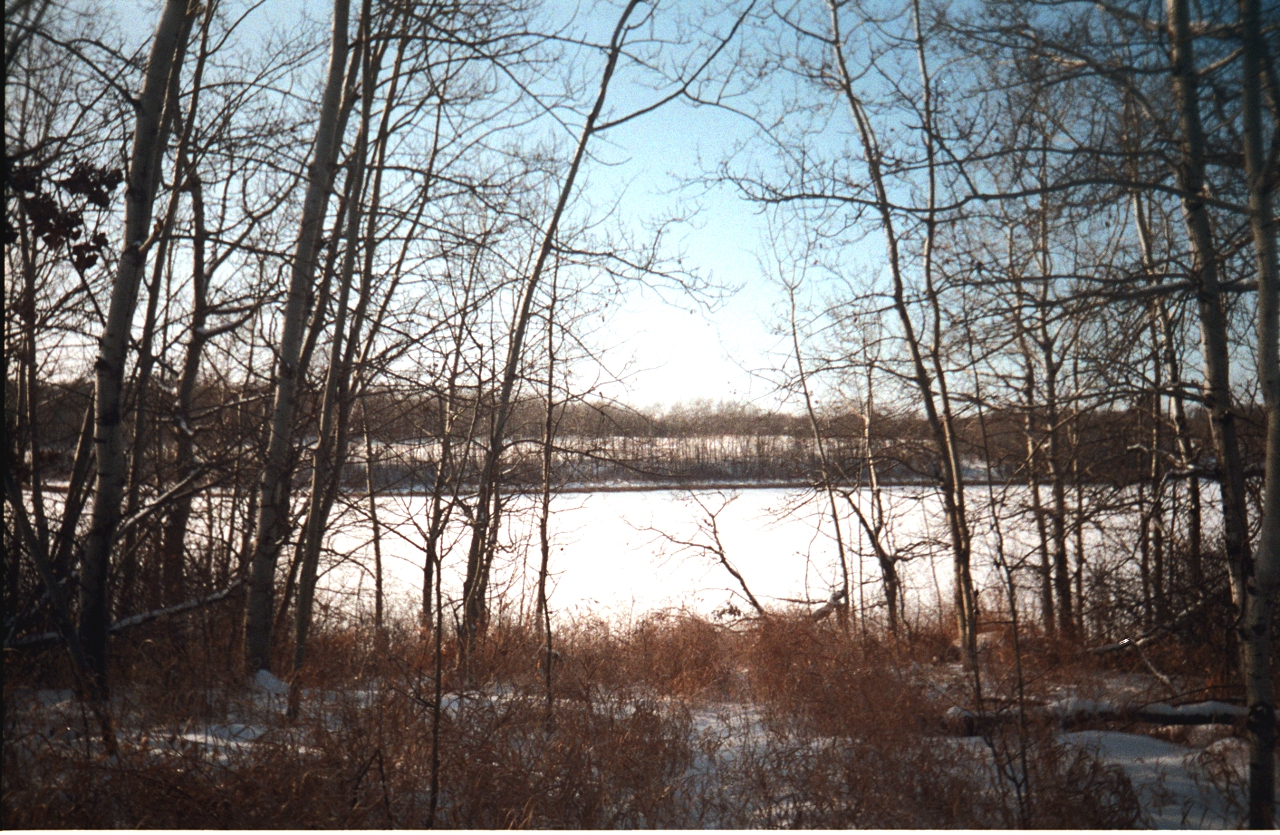
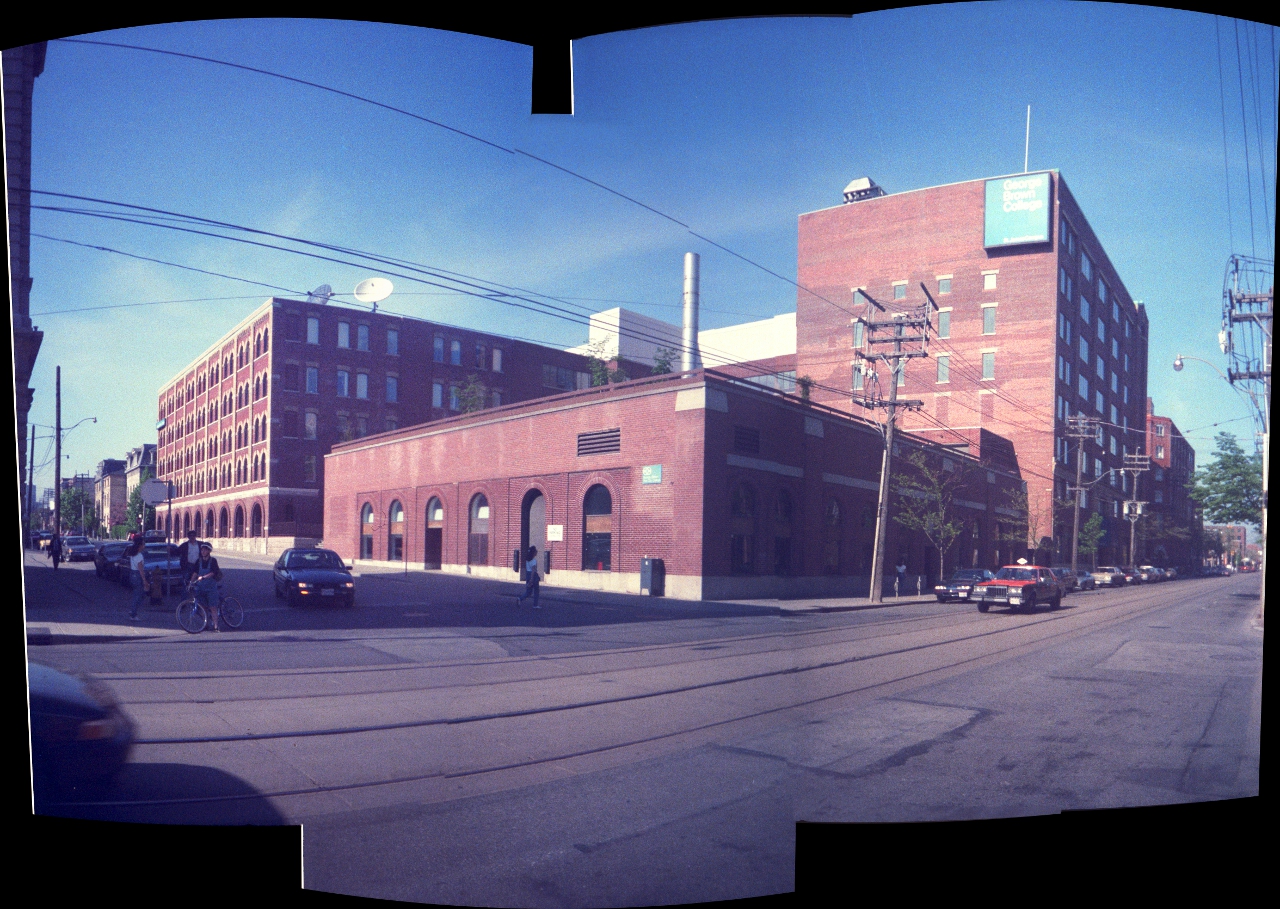
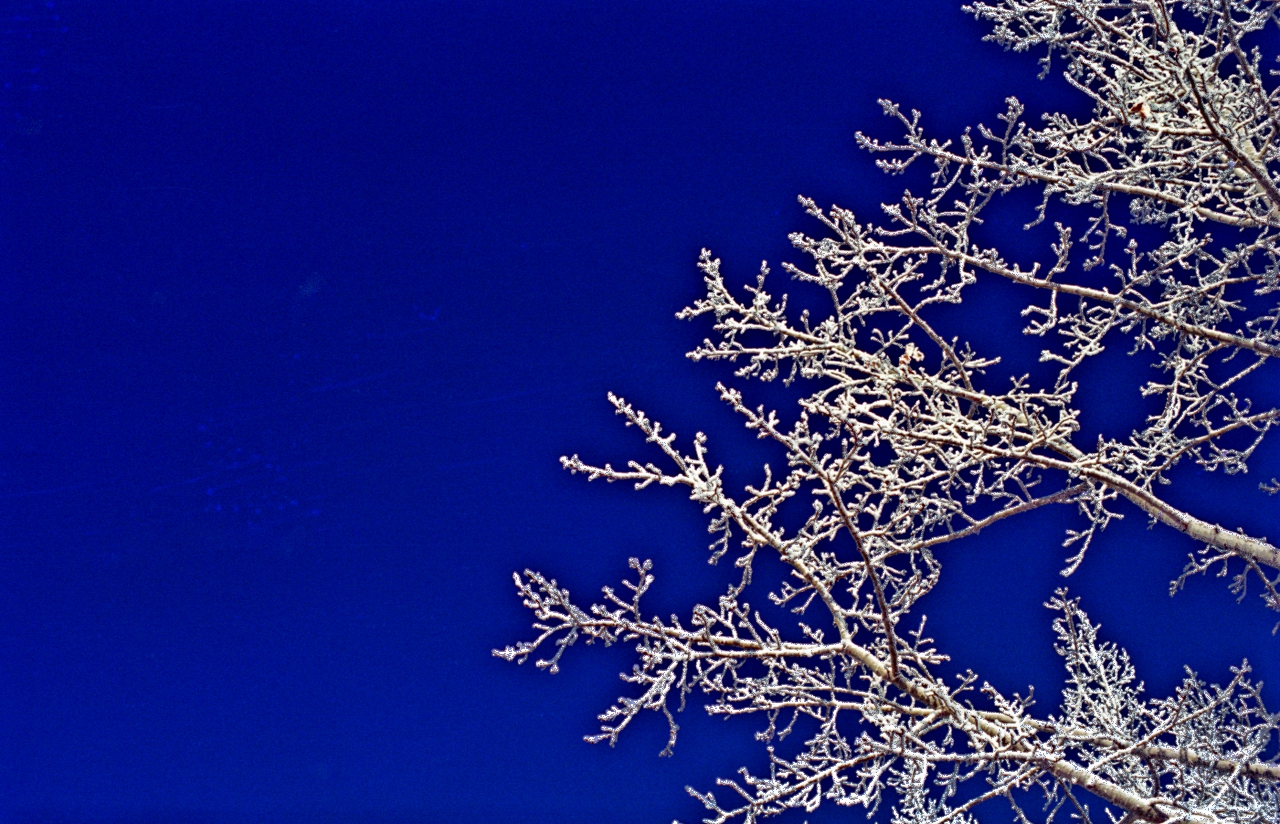
Pentax ESII
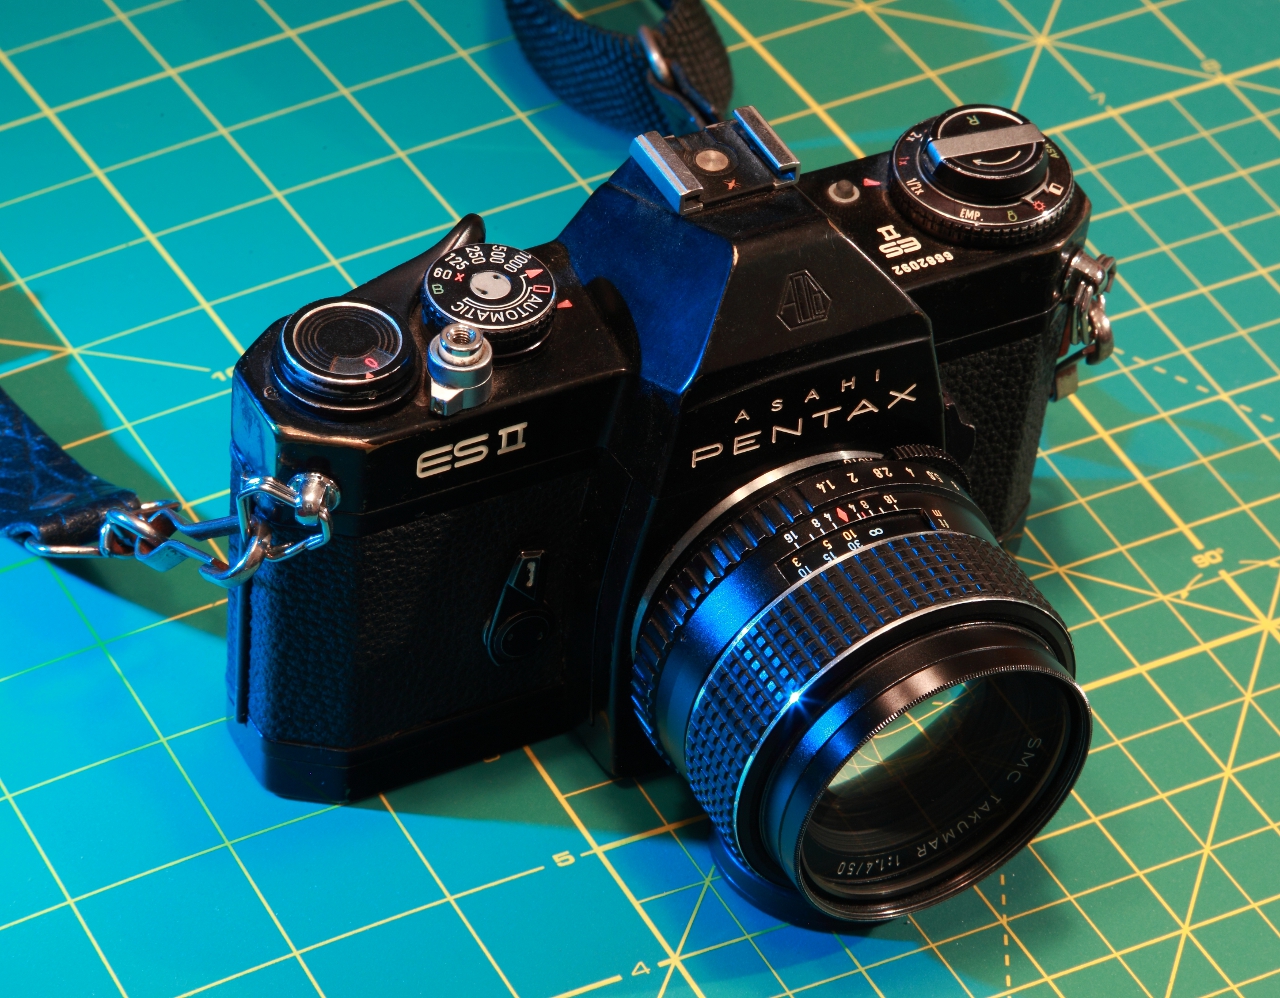
For my 20th birthday my parents gave my first “real” (read SLR) camera, a Pentax ESII with a fast 50mm prime lens. This is the film camera I got the most mileage out of, developing my artistic skill and eventually amassing a small collection of used lenses for it. When the electronics eventually failed I bought a second one to replace it, and that’s the camera I just finished shooting some of my last rolls with. I also picked up a Pentax Spotmatic, which uses the same lenses, so I could have two bodies for shoots where I would want to swap lenses a lot. For a while I did my own B&W developing at home too. The Pentax was an excellent, life-altering gift. The vast majority of my film was shot with it and most of my photographic learning was done with it.
Example ESII & Spotmatic photos:
—
The Crap Pentax
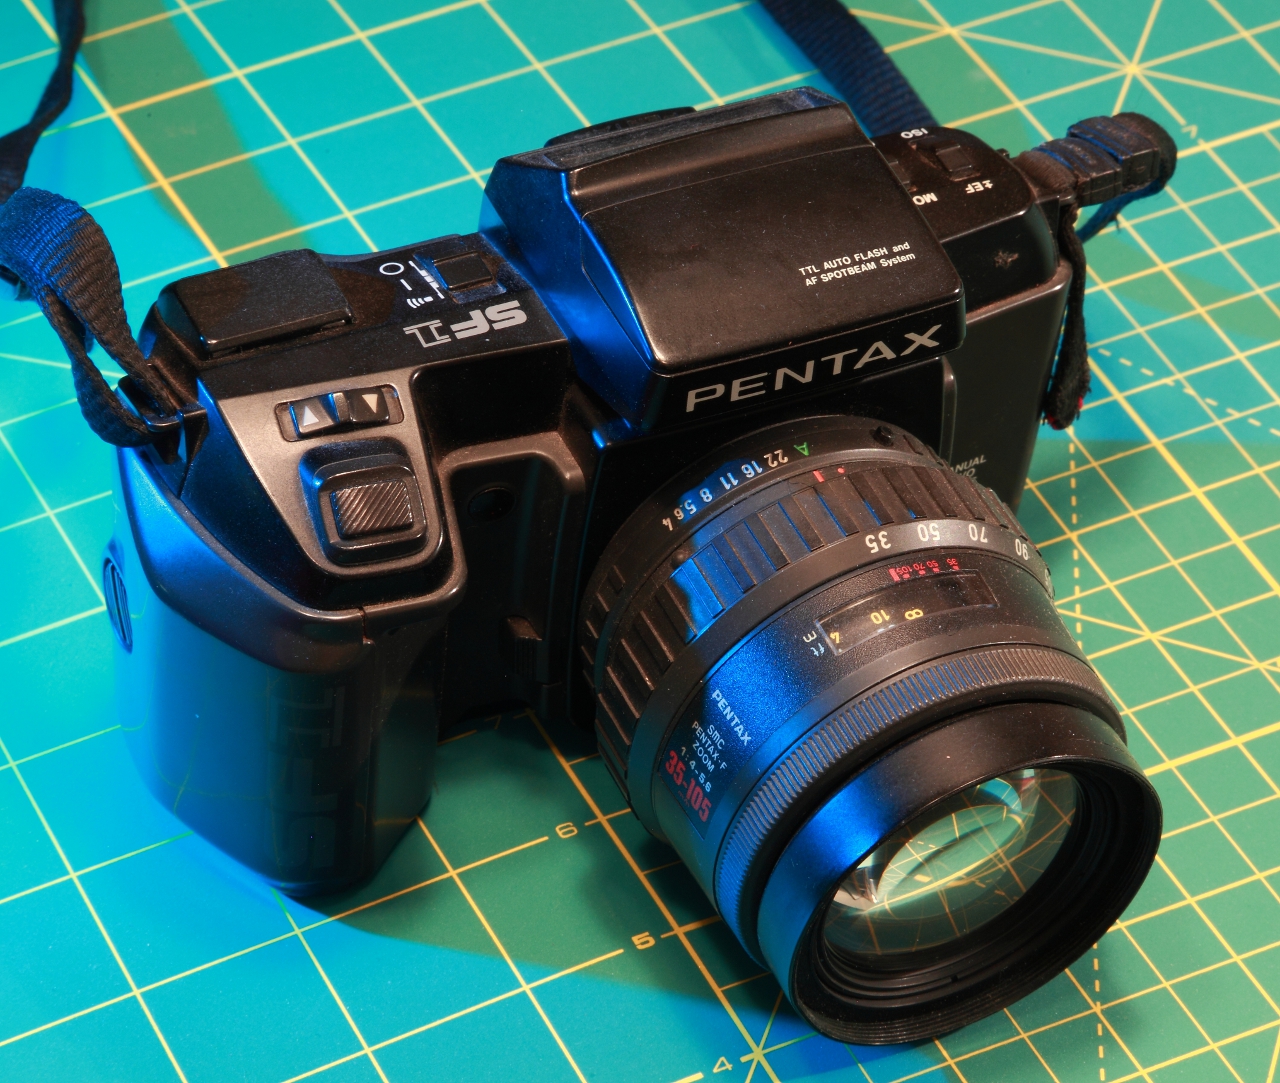
In the early 2000s I picked up a more modern Pentax, used, because I was curious to see what an auto-focus, auto-winding, zoom-lensed camera was like. Unfortunately this model was a bad choice, as it felt cheap and I didn`t like using it. I think I only shot one or two rolls with it, and I no longer remember which ones they were so no examples for this one.
—
The TLR
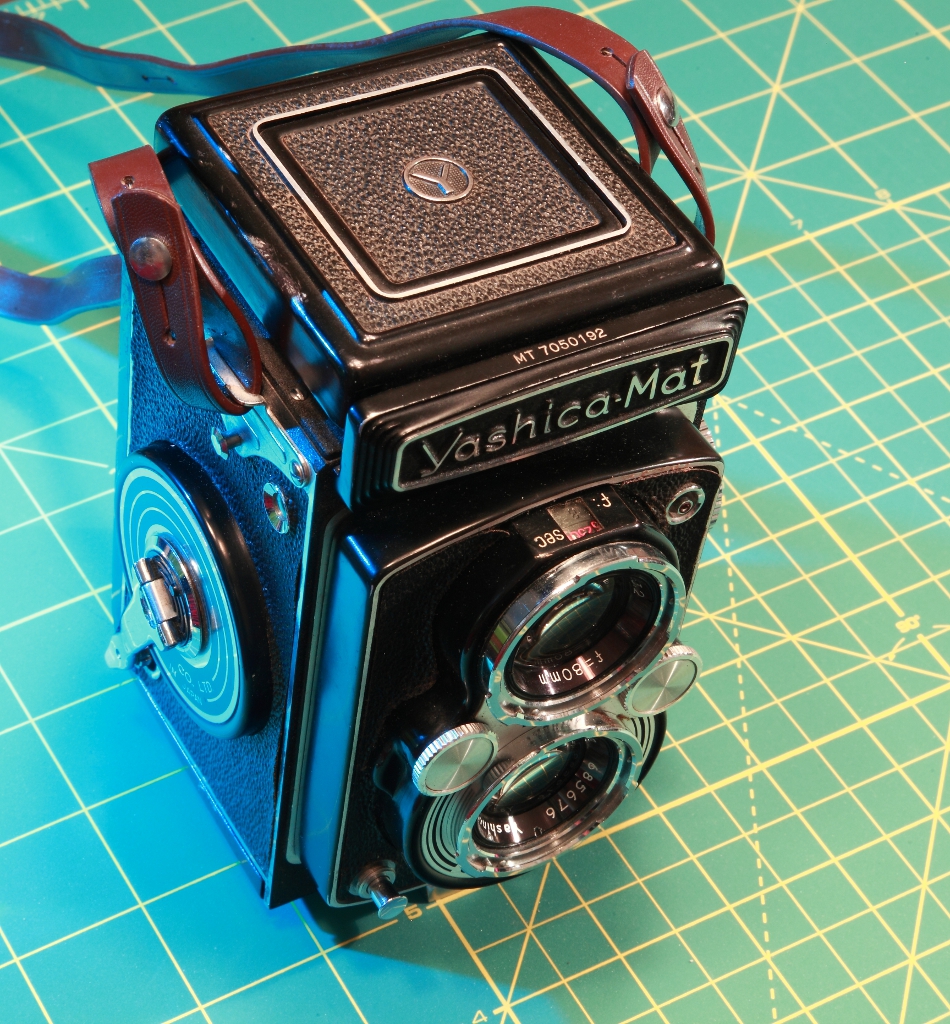
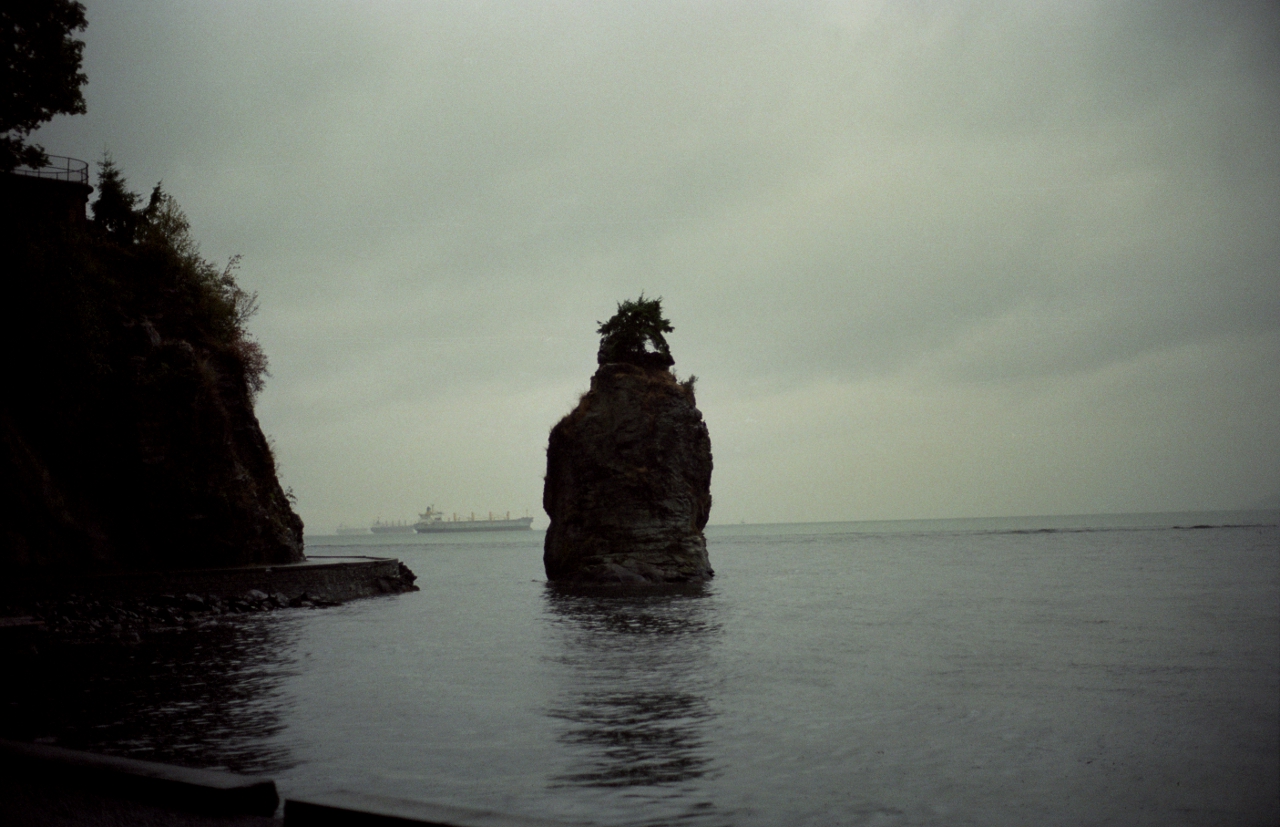
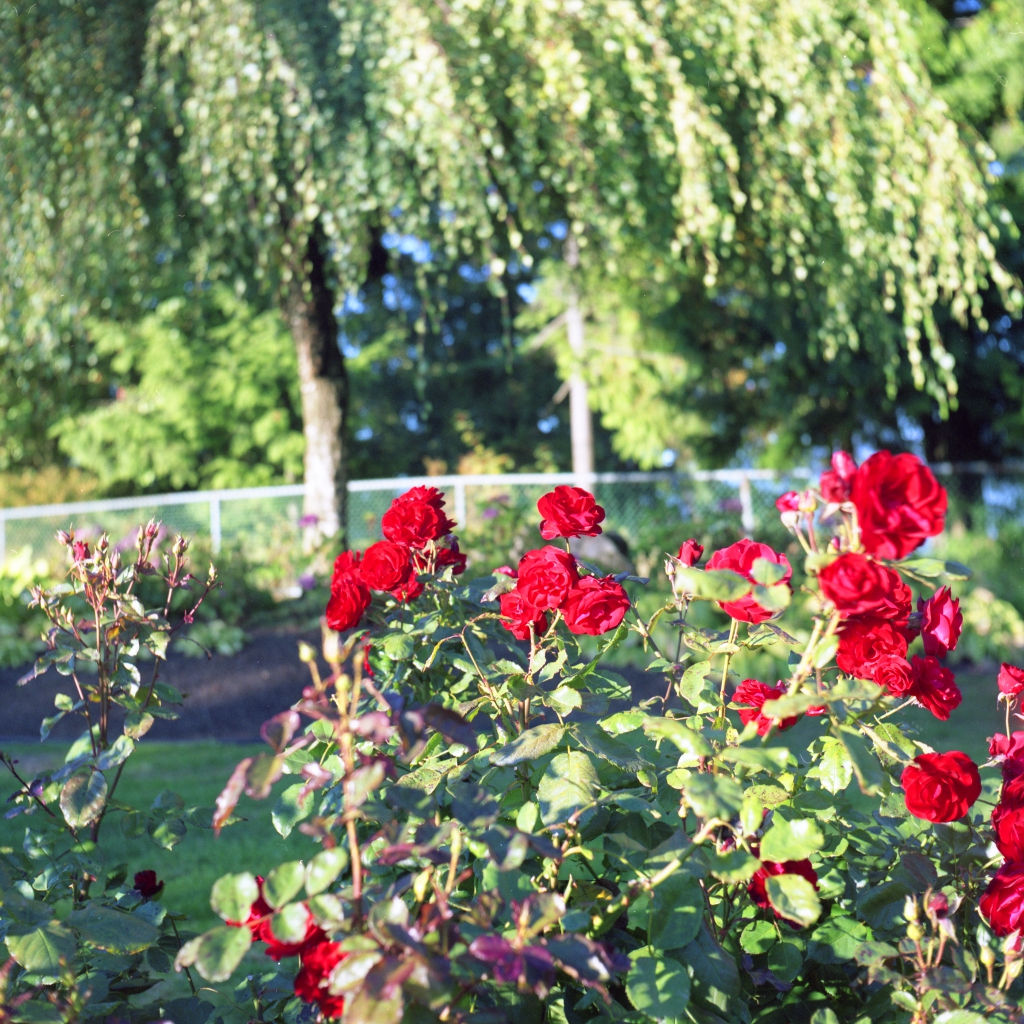
A few years ago my mother gave me her old Yashica-Mat TLR medium format camera, as she has also gone digital. In the end I only shot a few rolls with it though. It’s a nice camera but I’m put off by the lack of a built-in light meter.
Example TLR photos:
—–
I’m not saying I’ll never shoot film again; it has its applications. But digital is so much cheaper and more convenient and a good digital SLR produces pictures that seem as good, and as enlargeable, as what I shot with my 35mm SLR.
One thing that film does have going for it is its variety of grains and color treatments. Simulating the heavy grain of some B&W films or the weird color cast of cheap 110 film with digital images just doesn’t look the same – at best it evokes nostalgia for those things in those what grew up with them.
I give it twenty years before I develop a weird nostalgia for shooting film and dig out the old cameras.
HD44780 LCD Interface lib for Teensy++ 2.0
Just a quick post to announce that I’ve posted a new project page to the static part of my site: Teensy++ Interface Library for HD44780-Based LCDs
It’s about a recently completed electronics hobby project.
IR/UV photo experiment
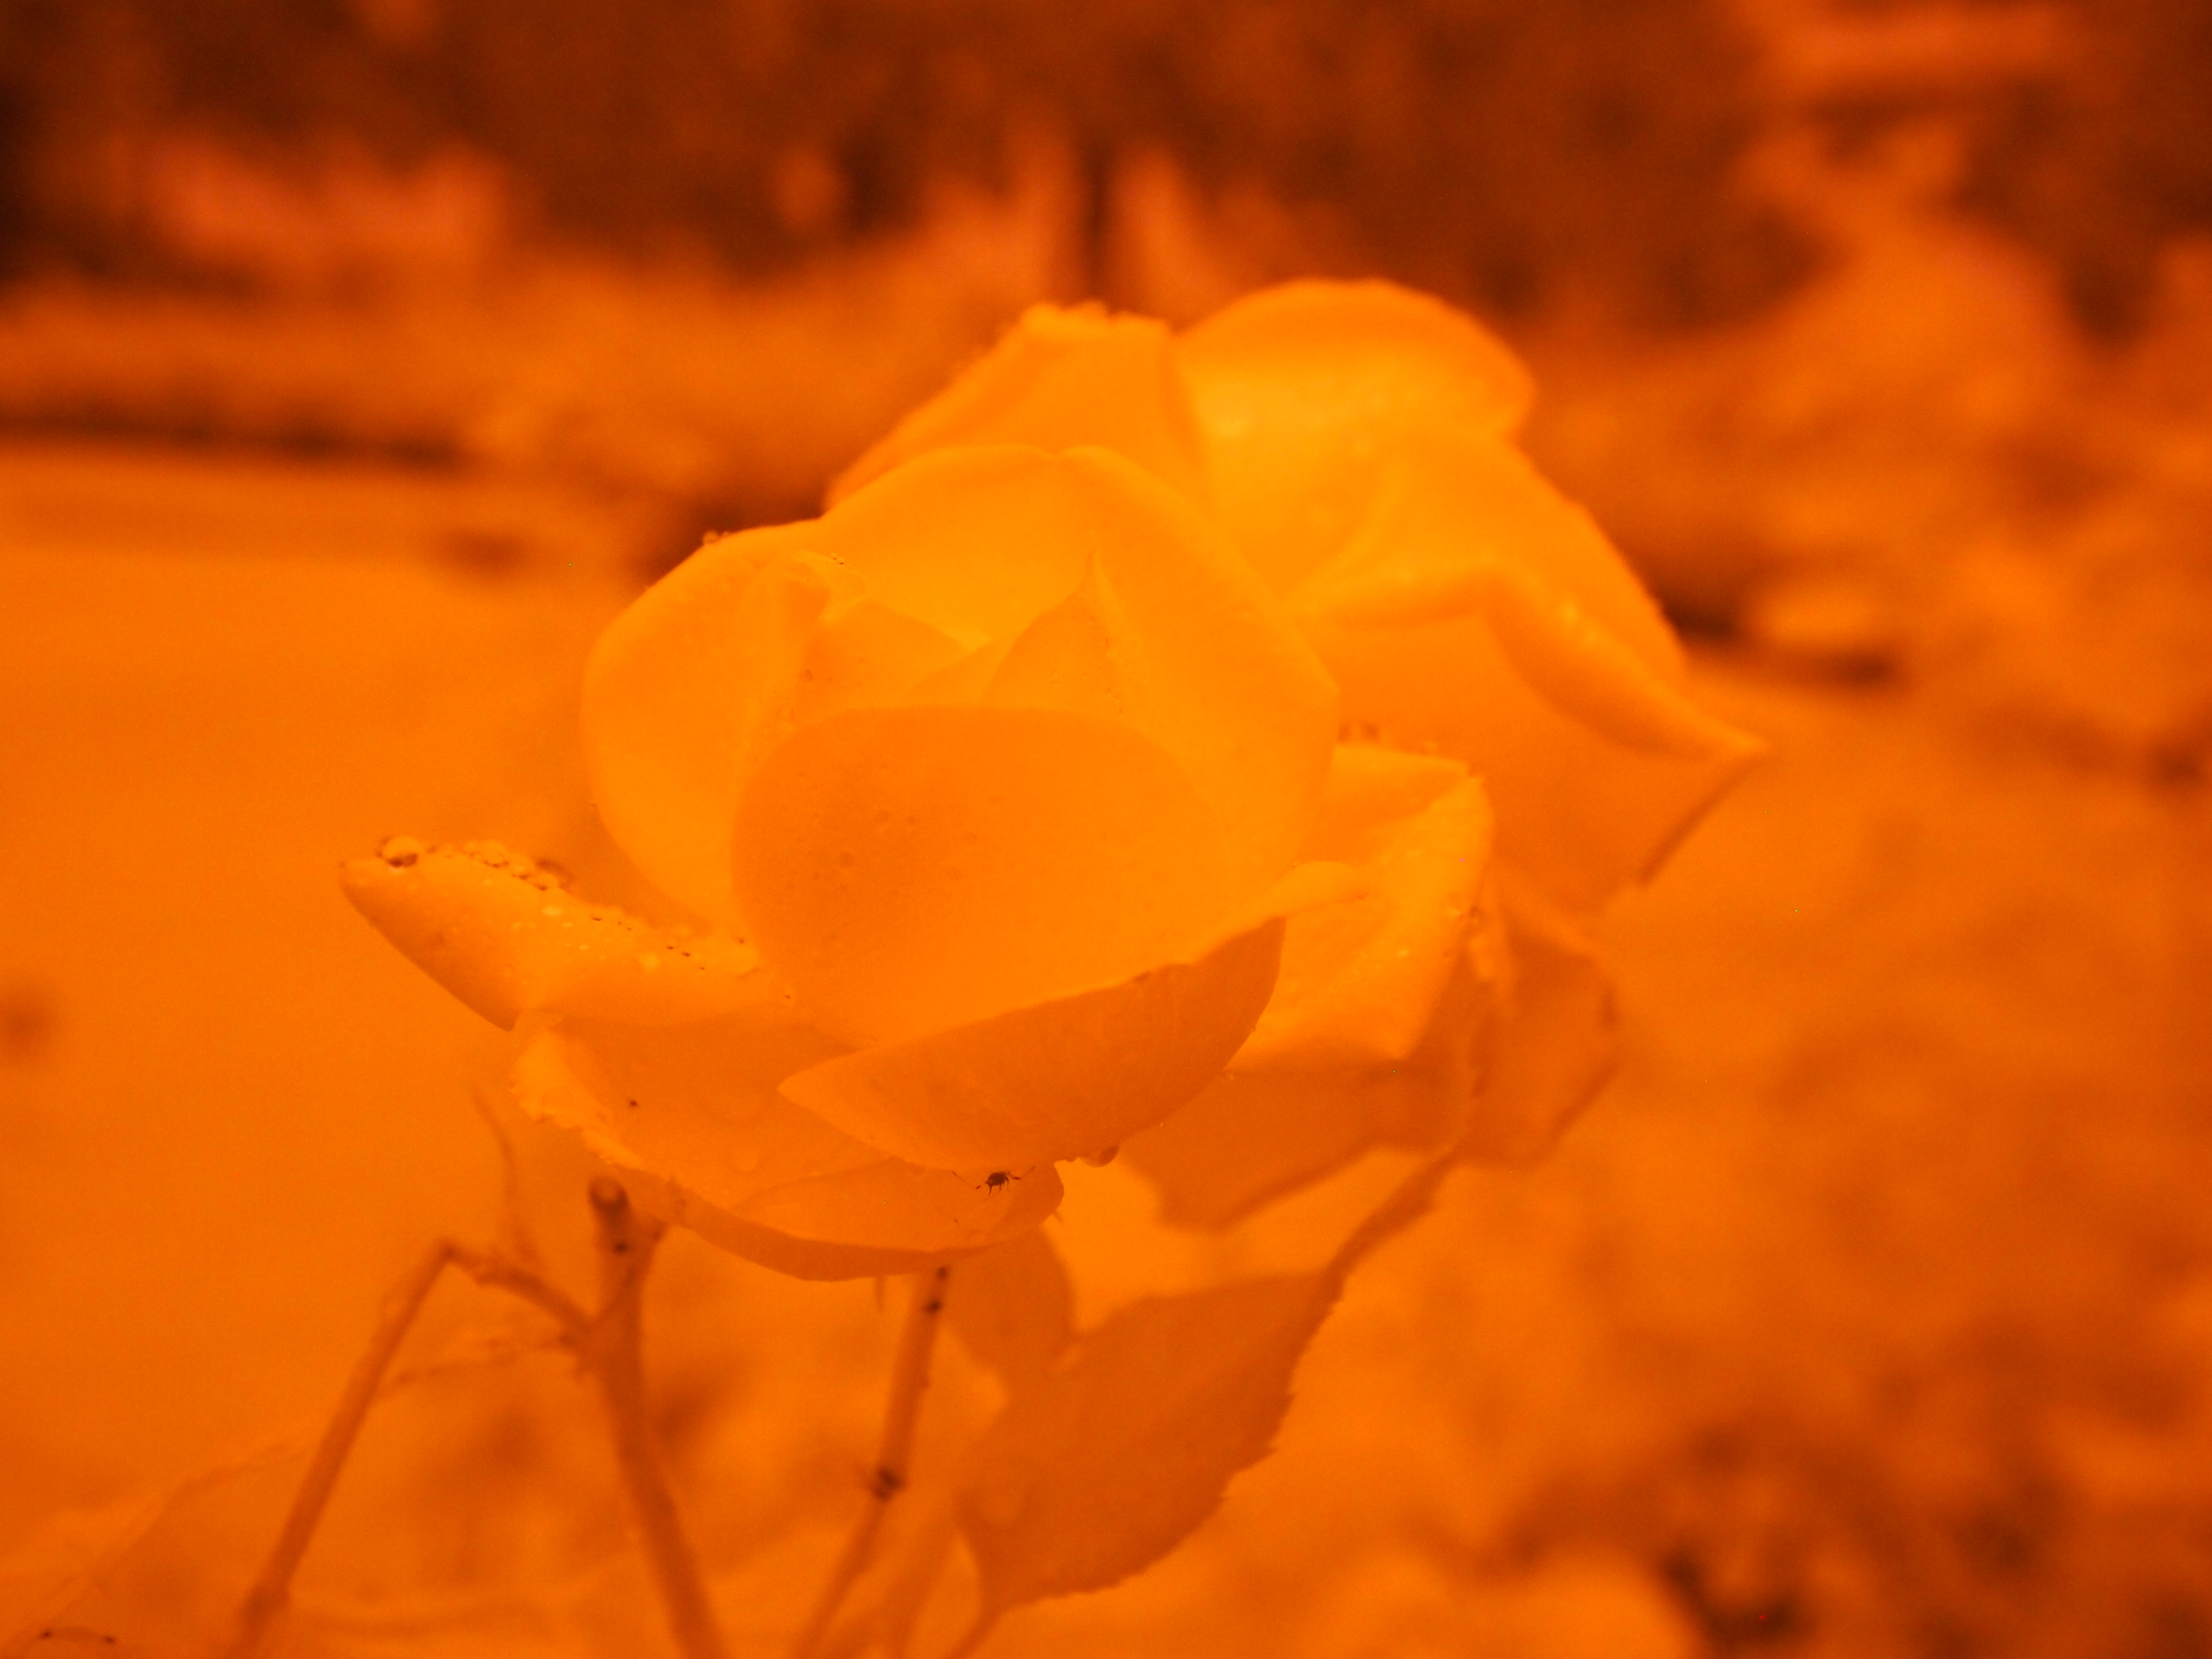
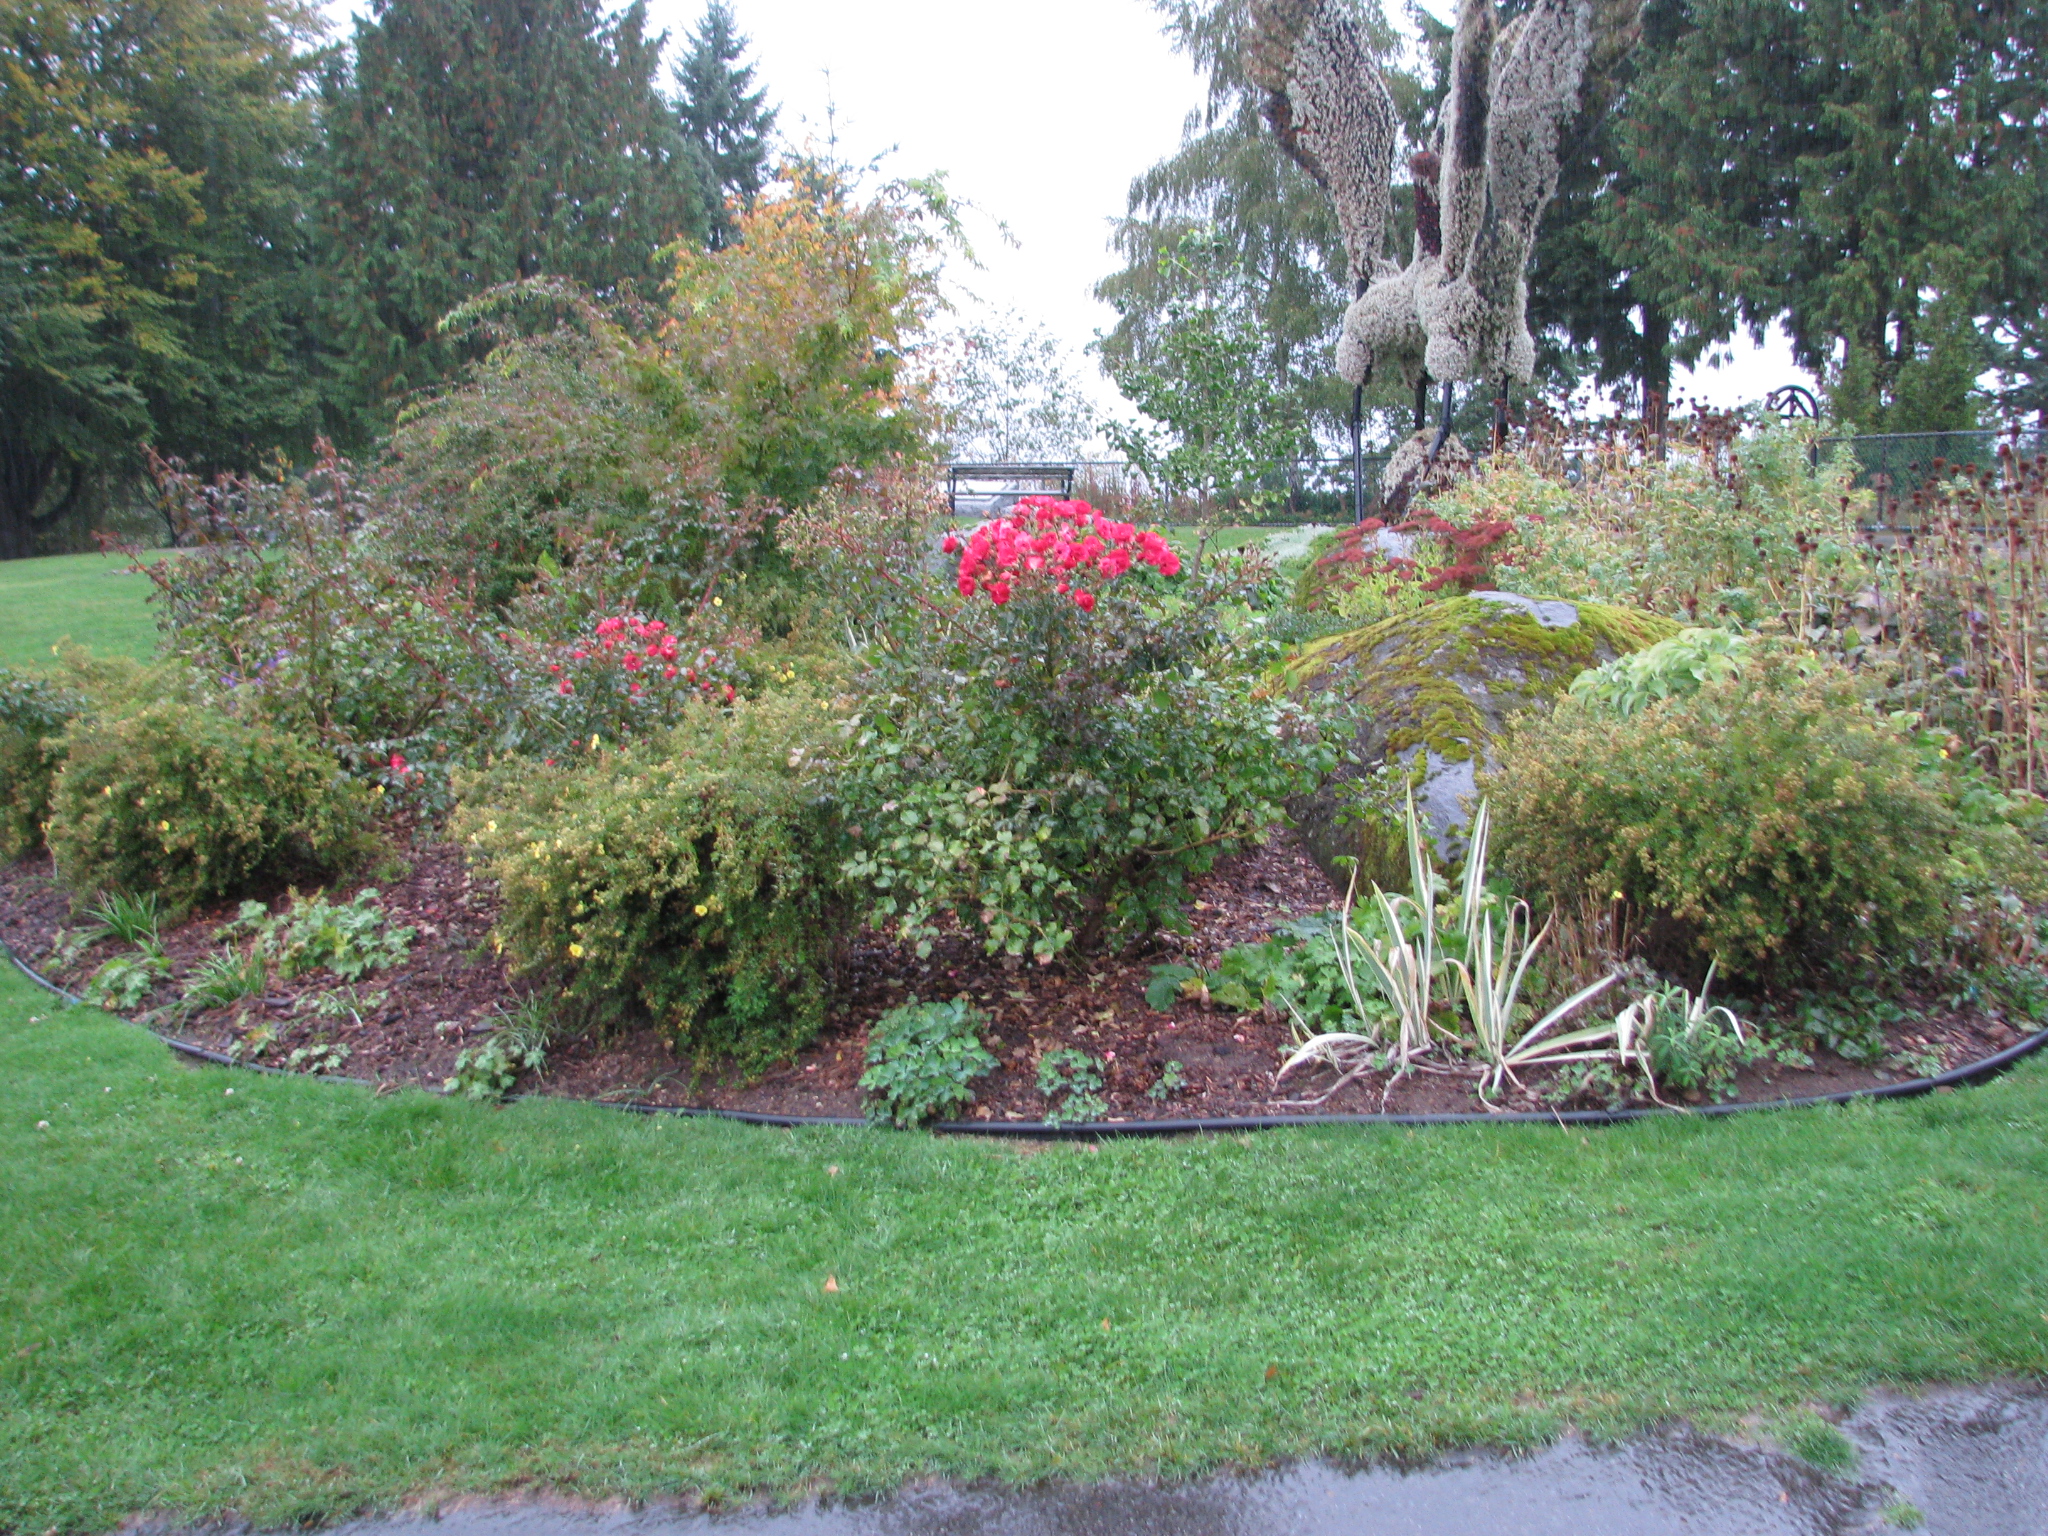
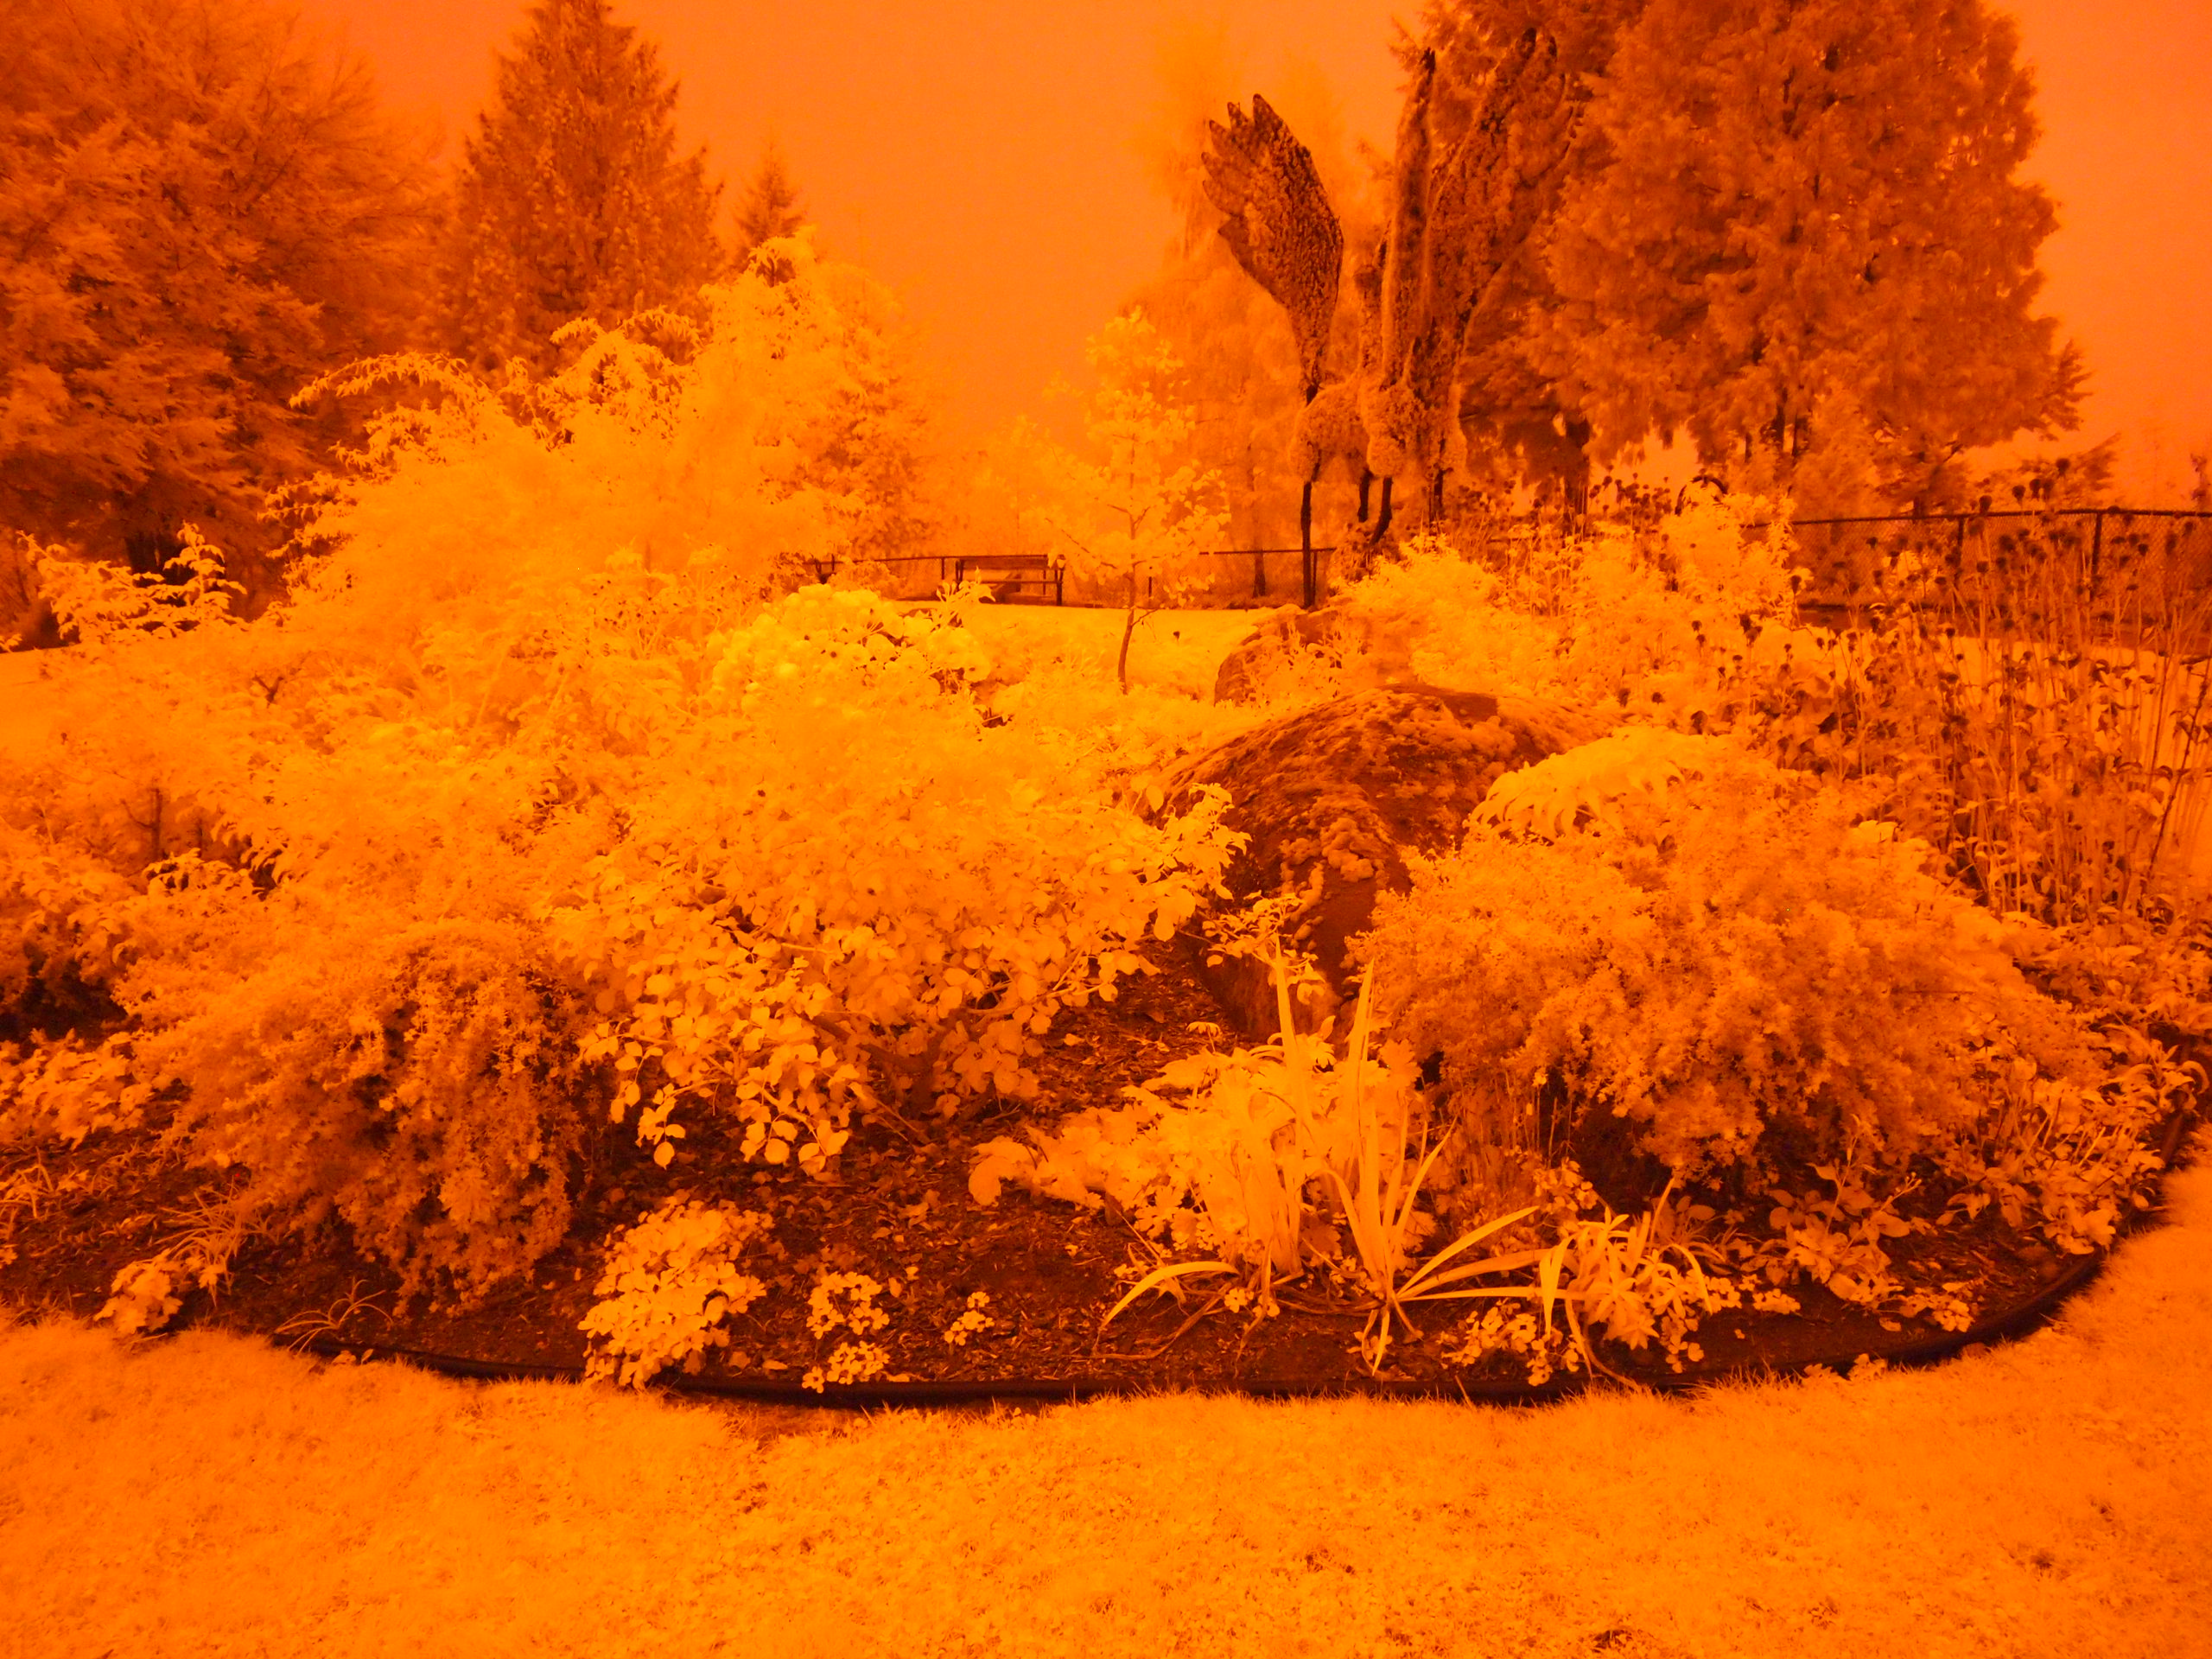
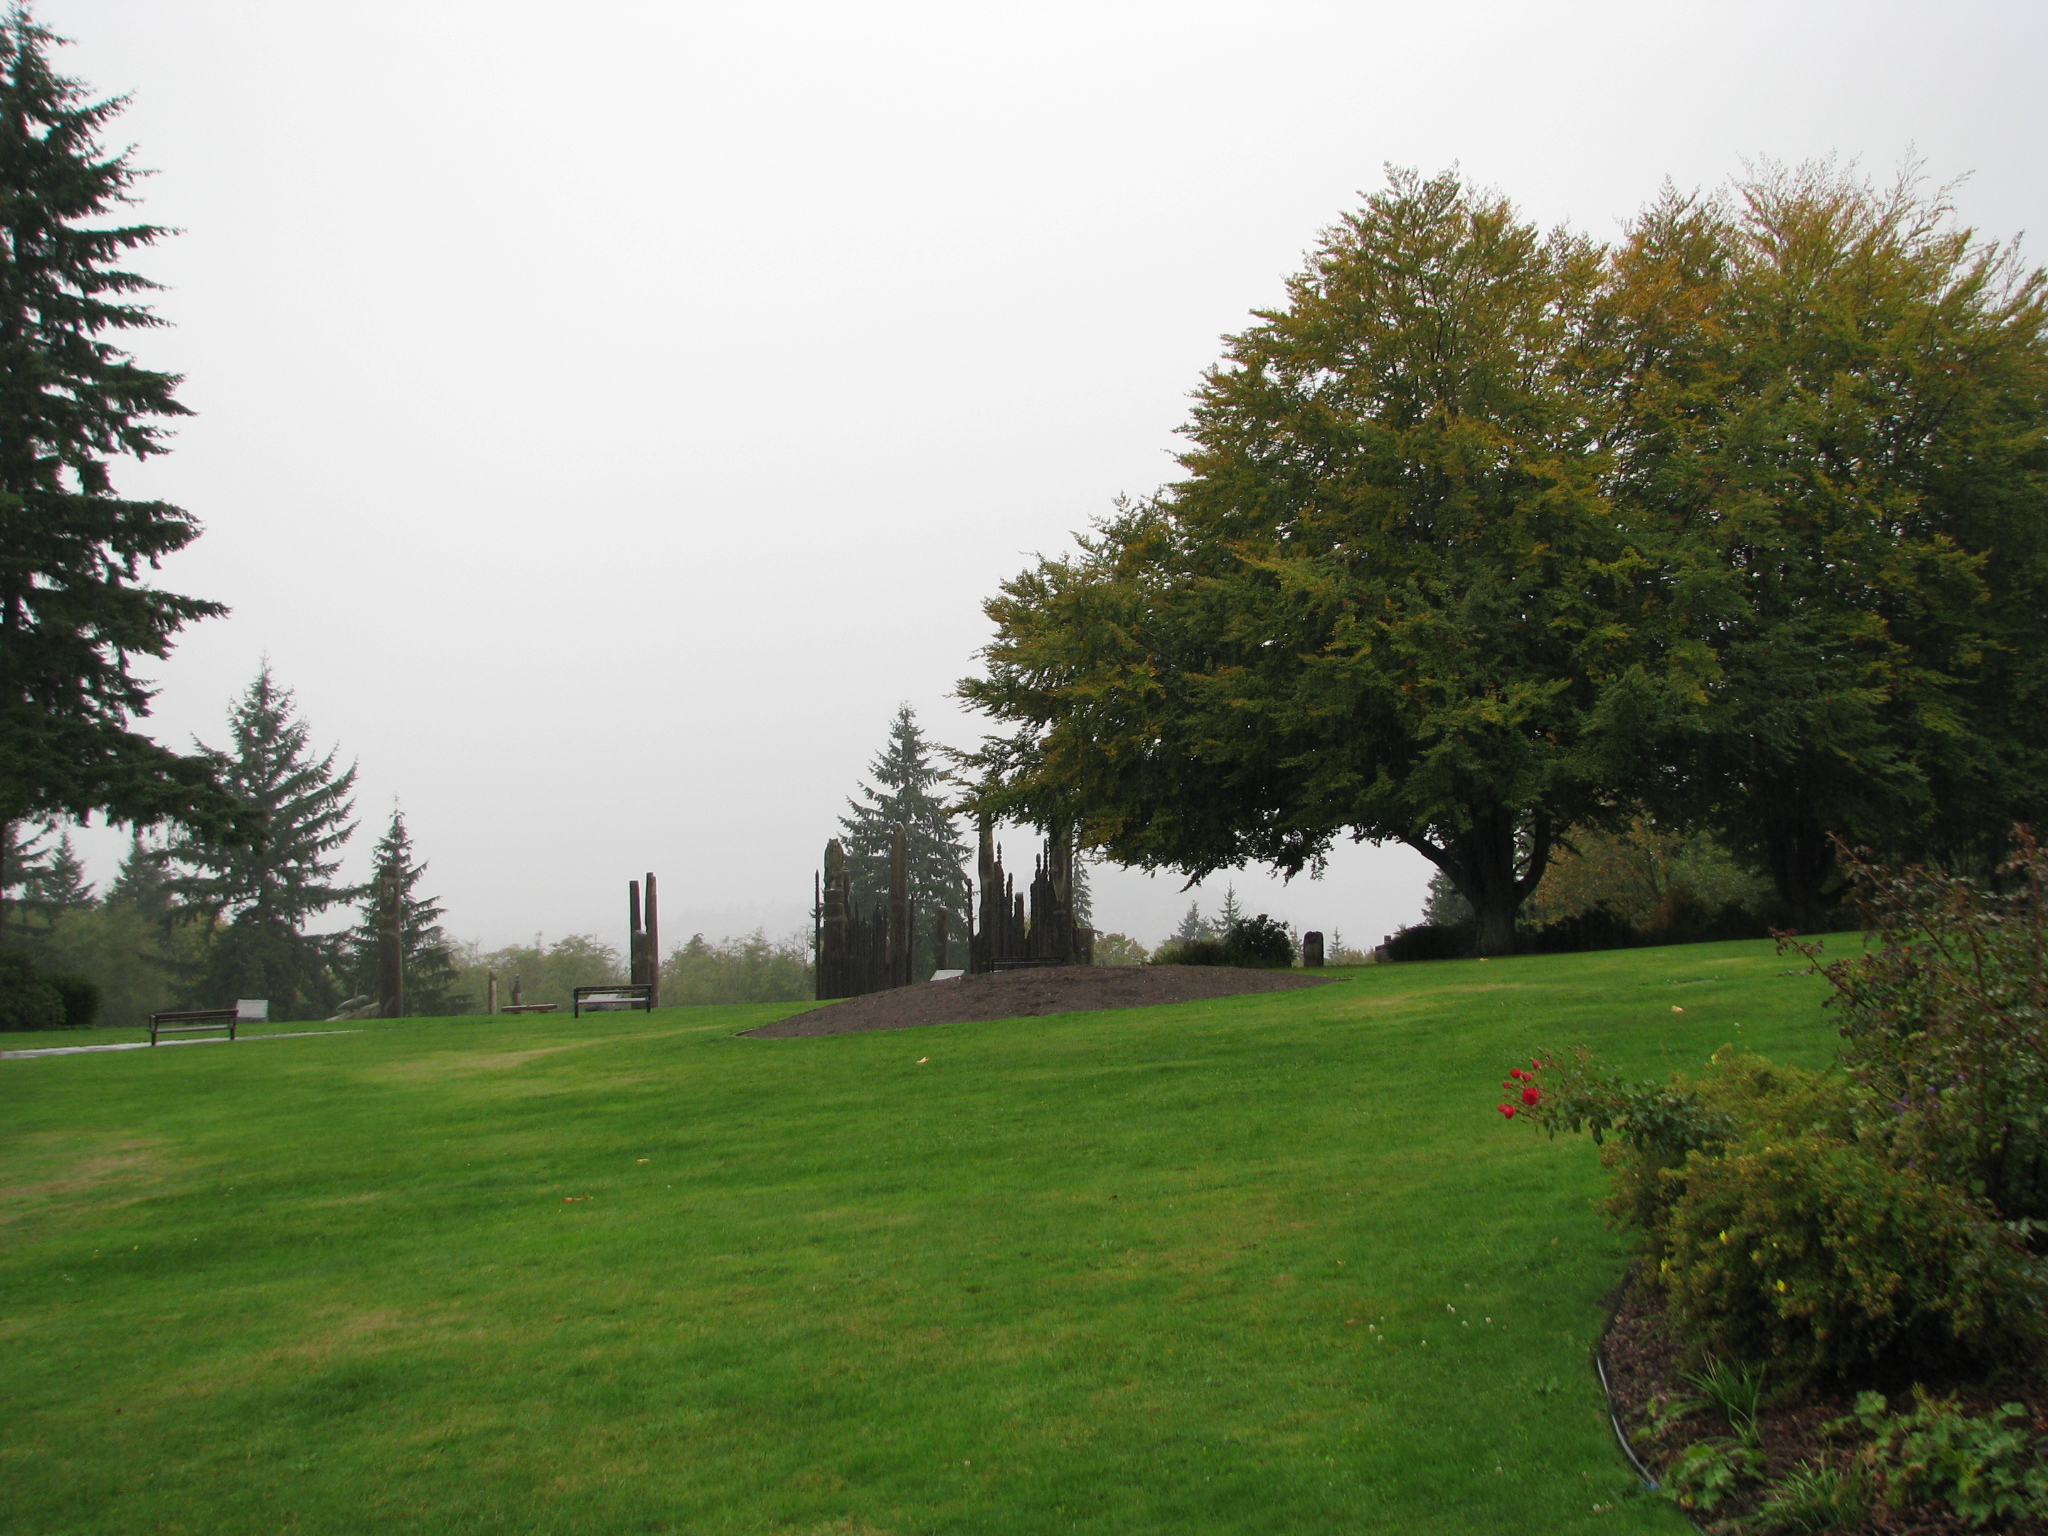
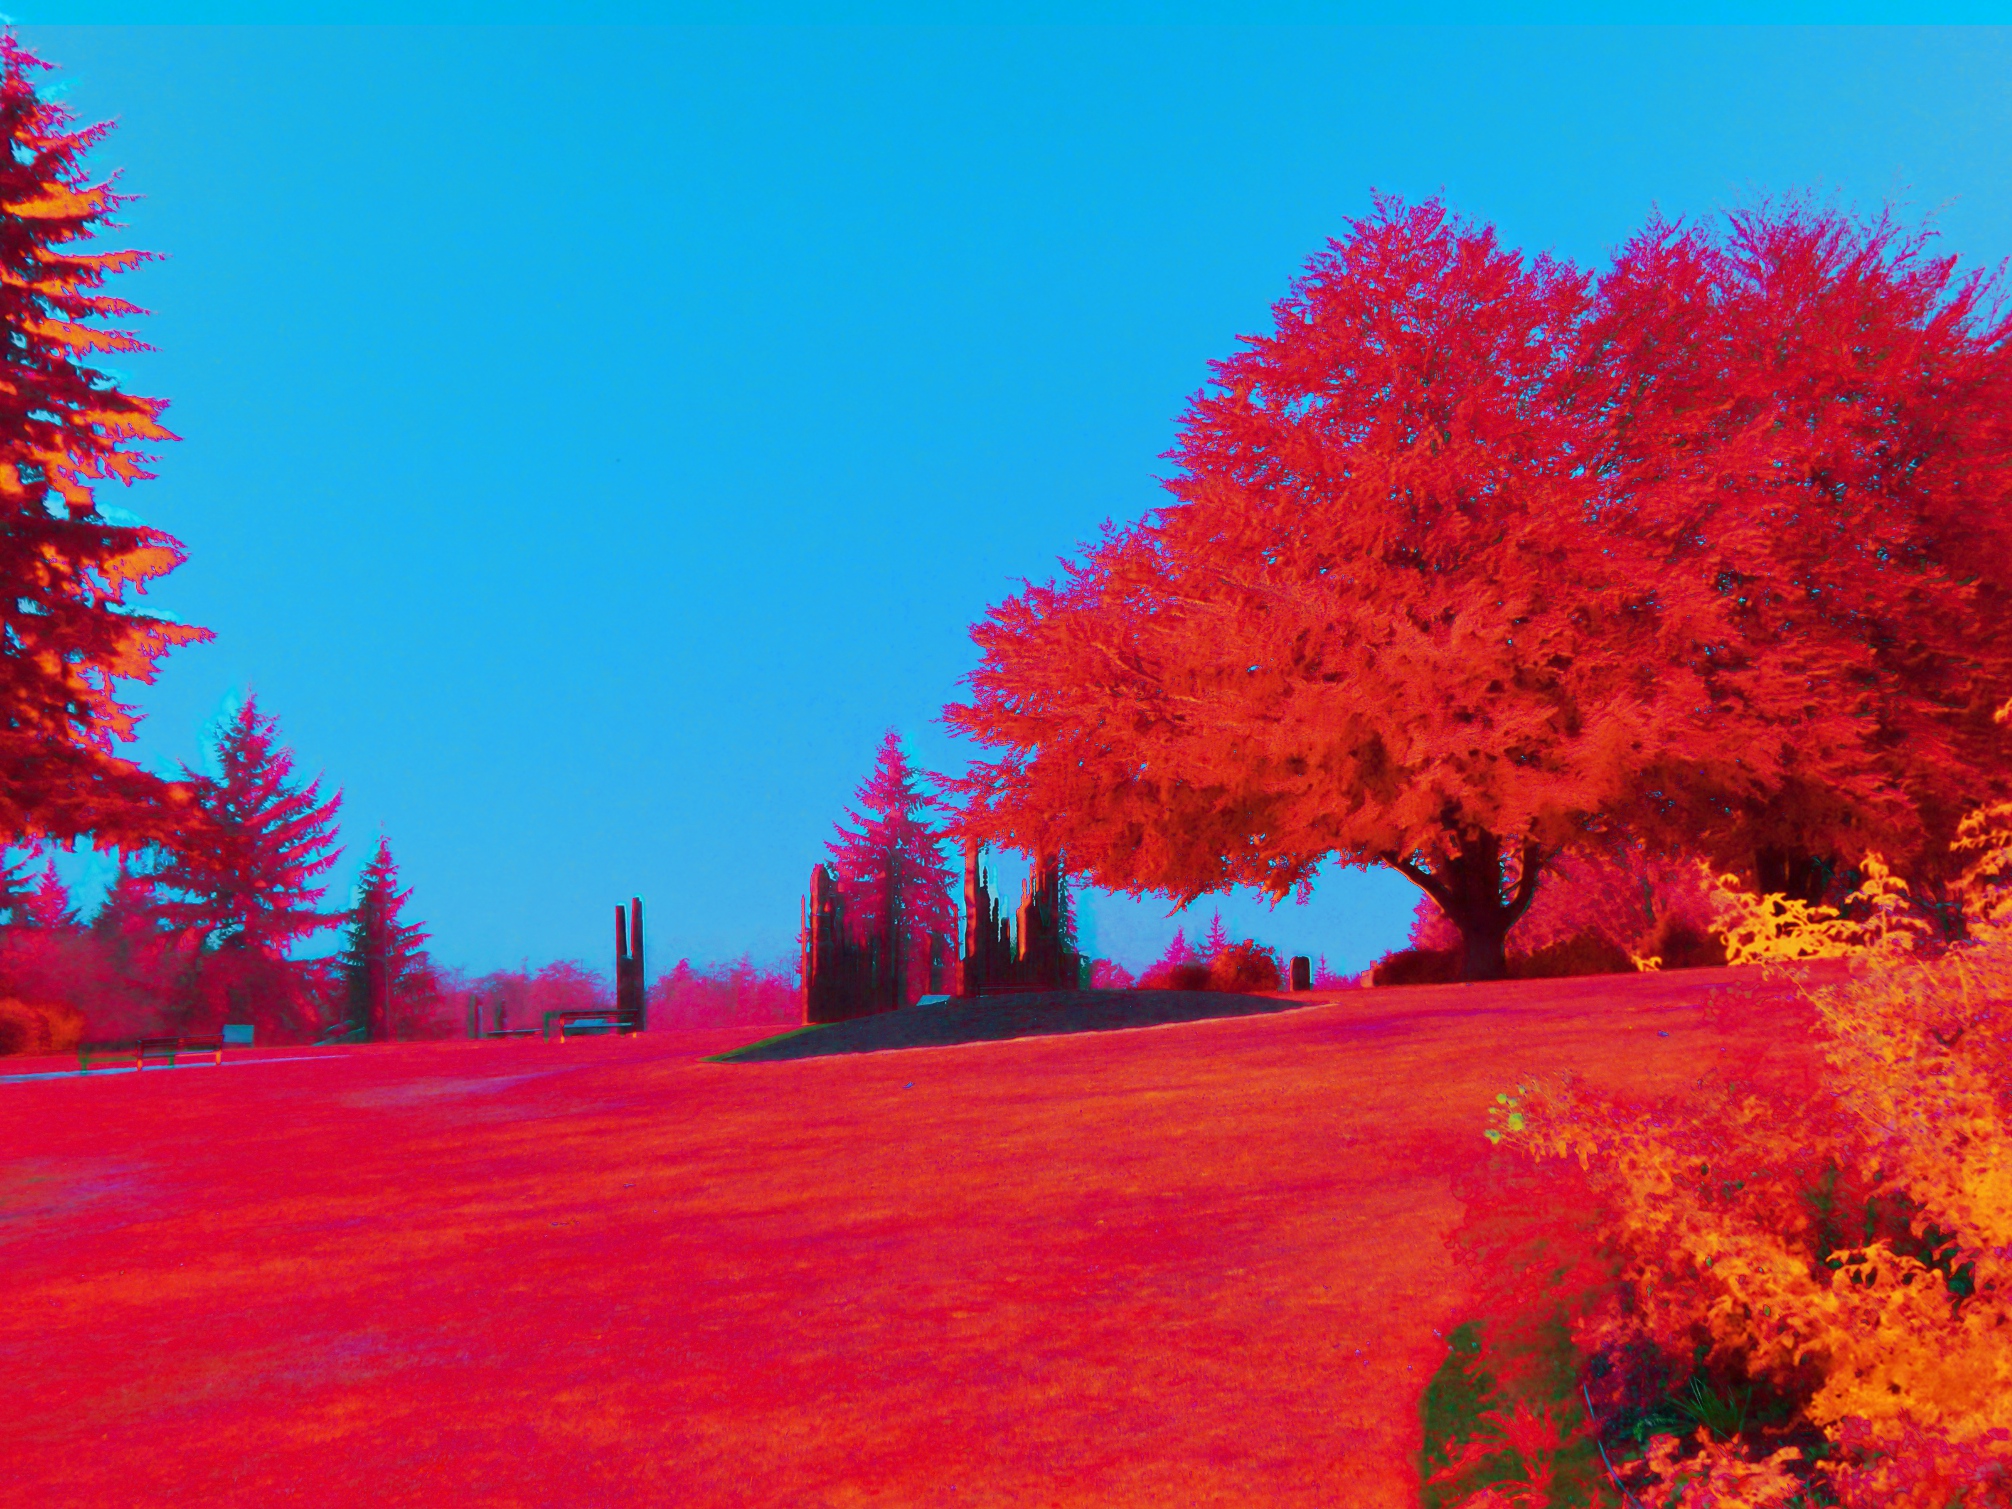
I just picked up an Olympus E-PL1 from a friend, modified for infrared and ultraviolet photography. That basically means the built-in UV/IR filter has been removed, and a filter that blocks most visible light but permits UV and IR light to pass has been placed on the lens.
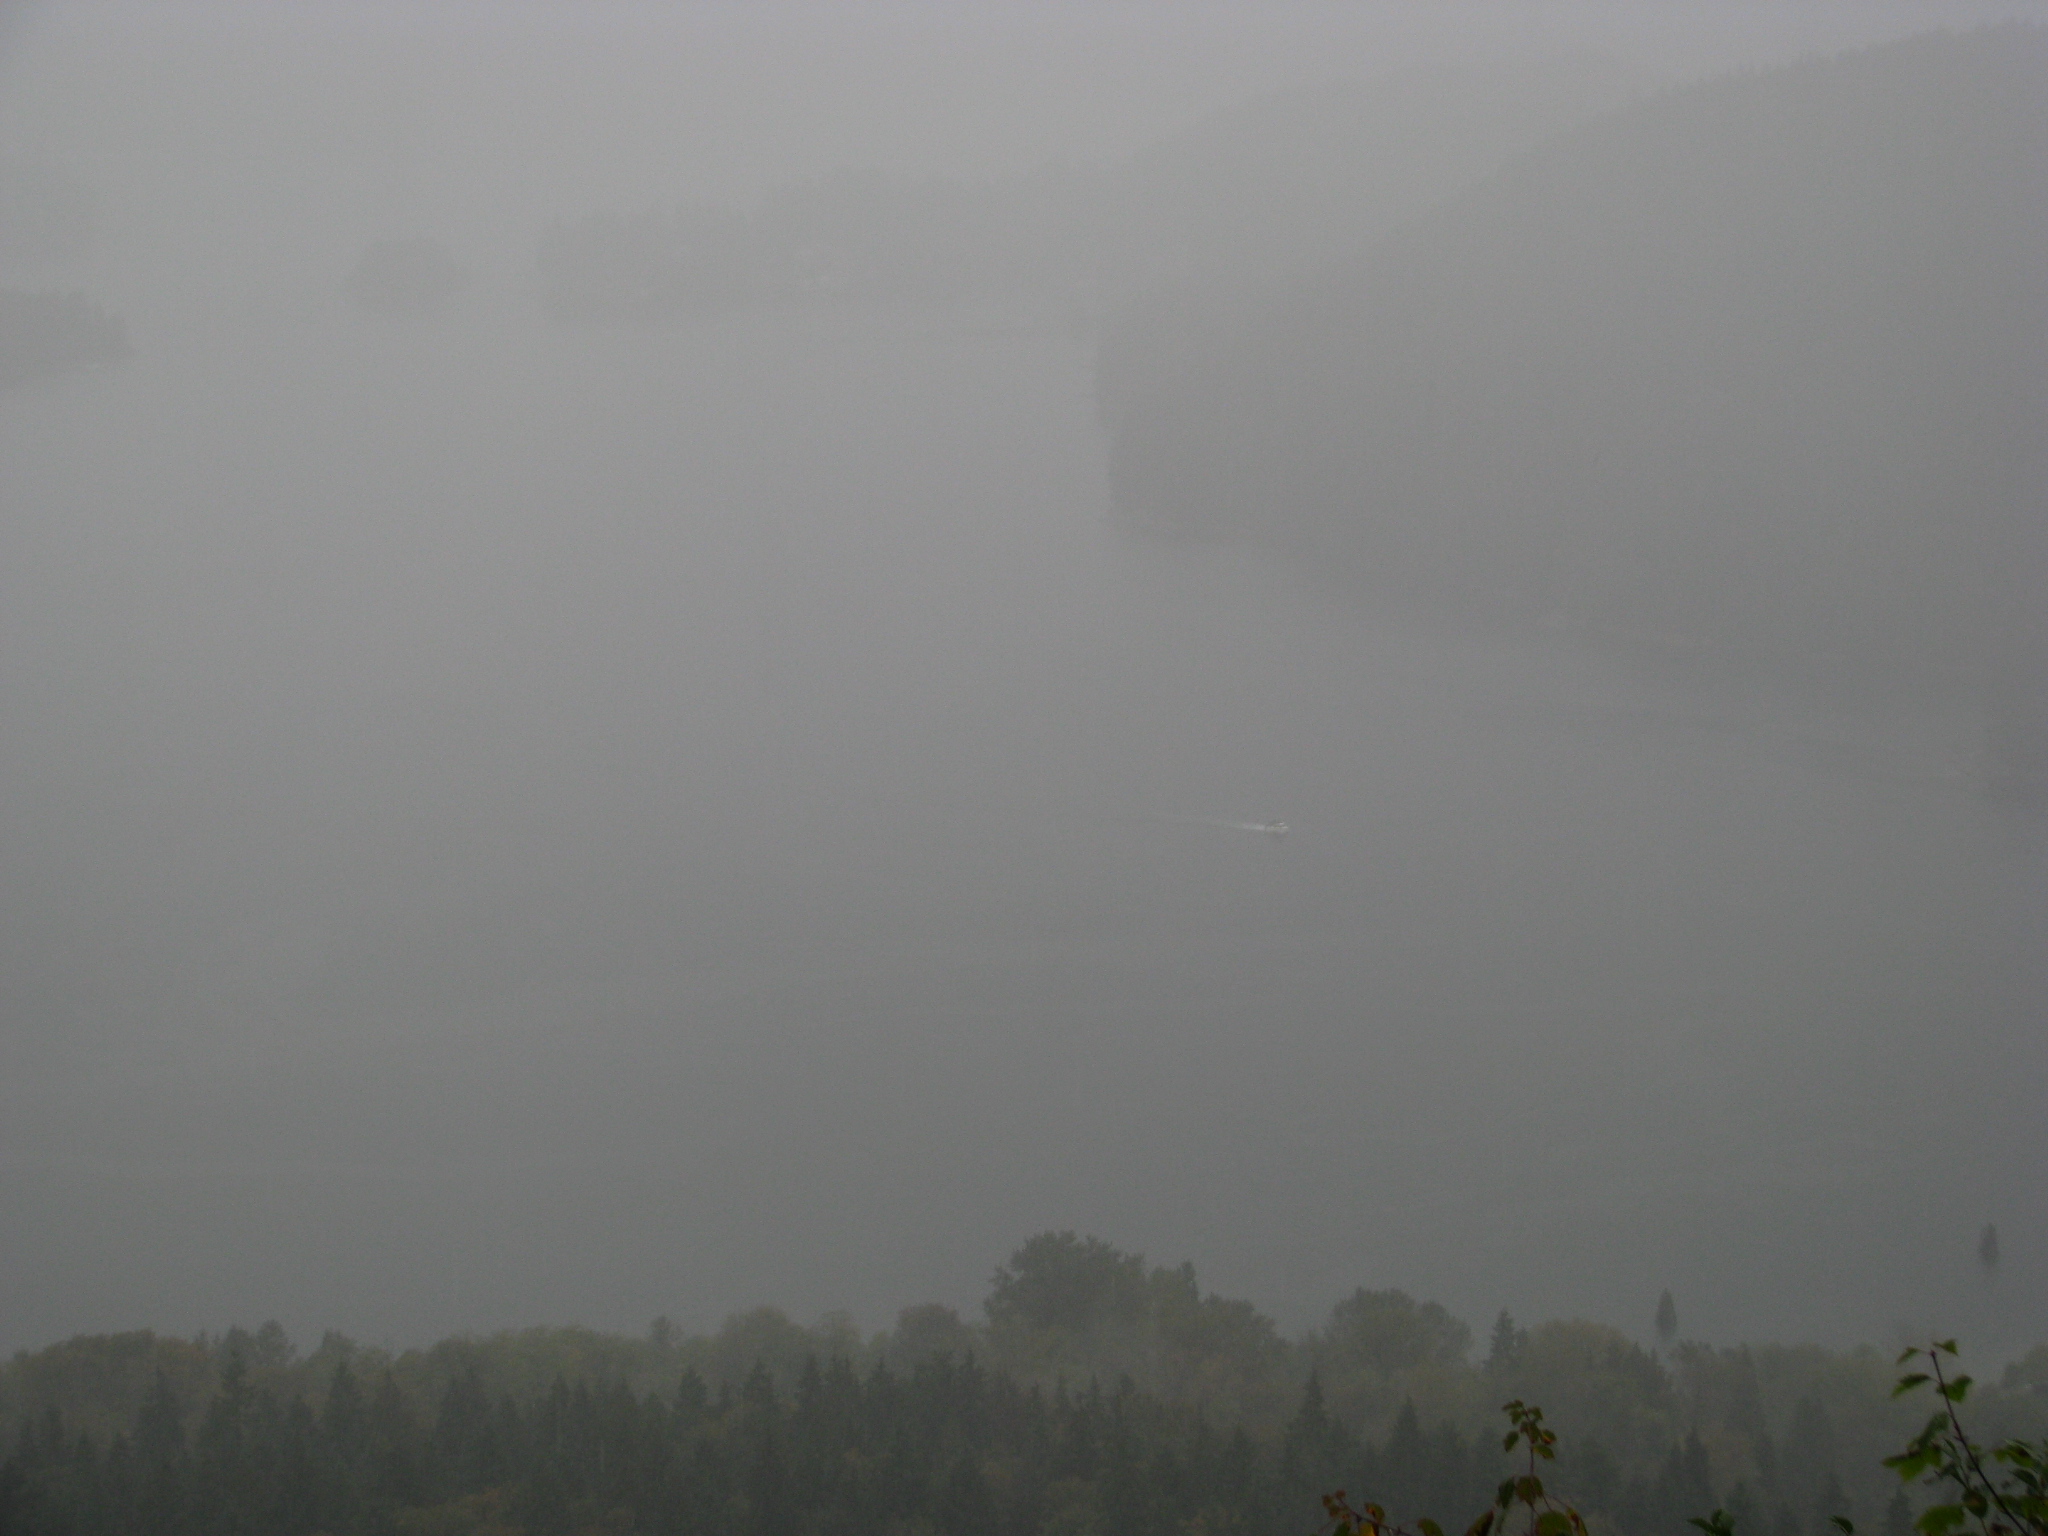
The weather wasn’t great for experimenting with this today, being overcast and rainy and not many flowers being still in bloom, but the IR results show up pretty well anyway.
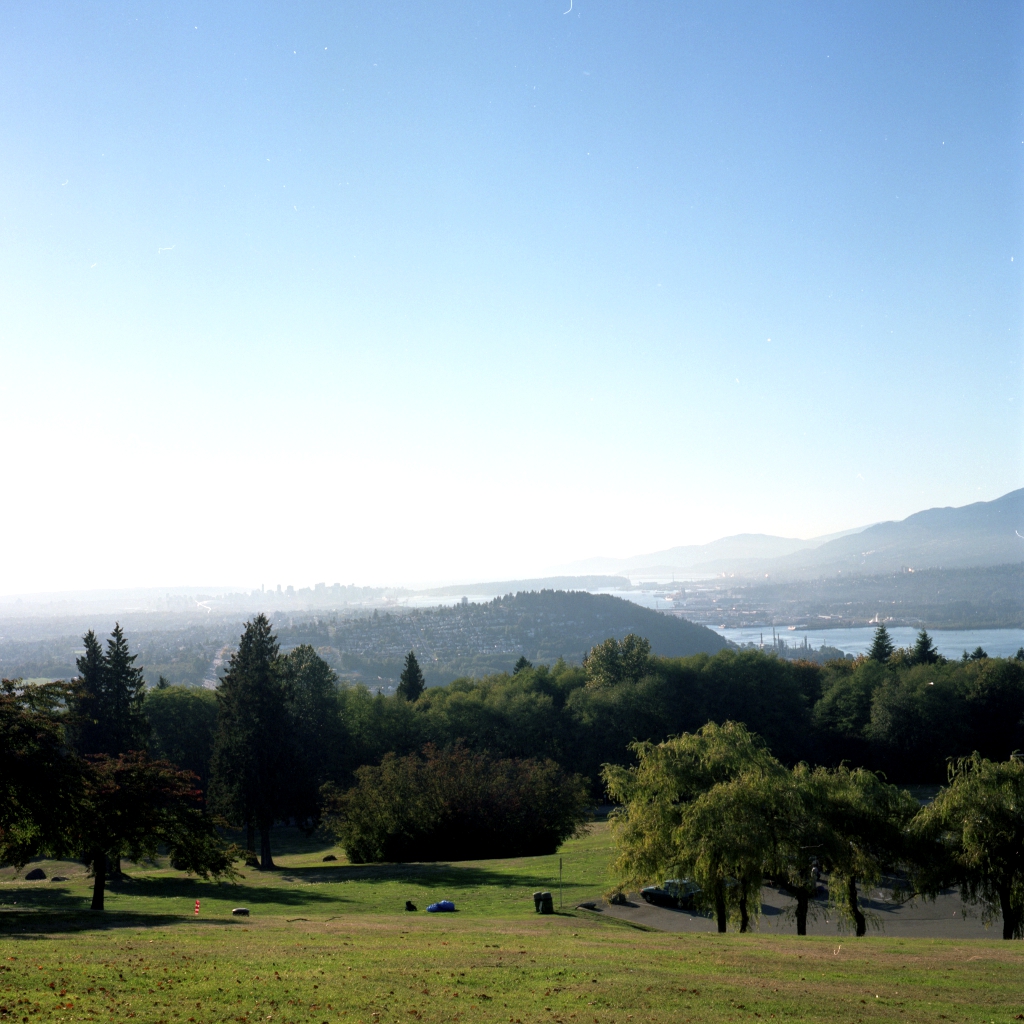
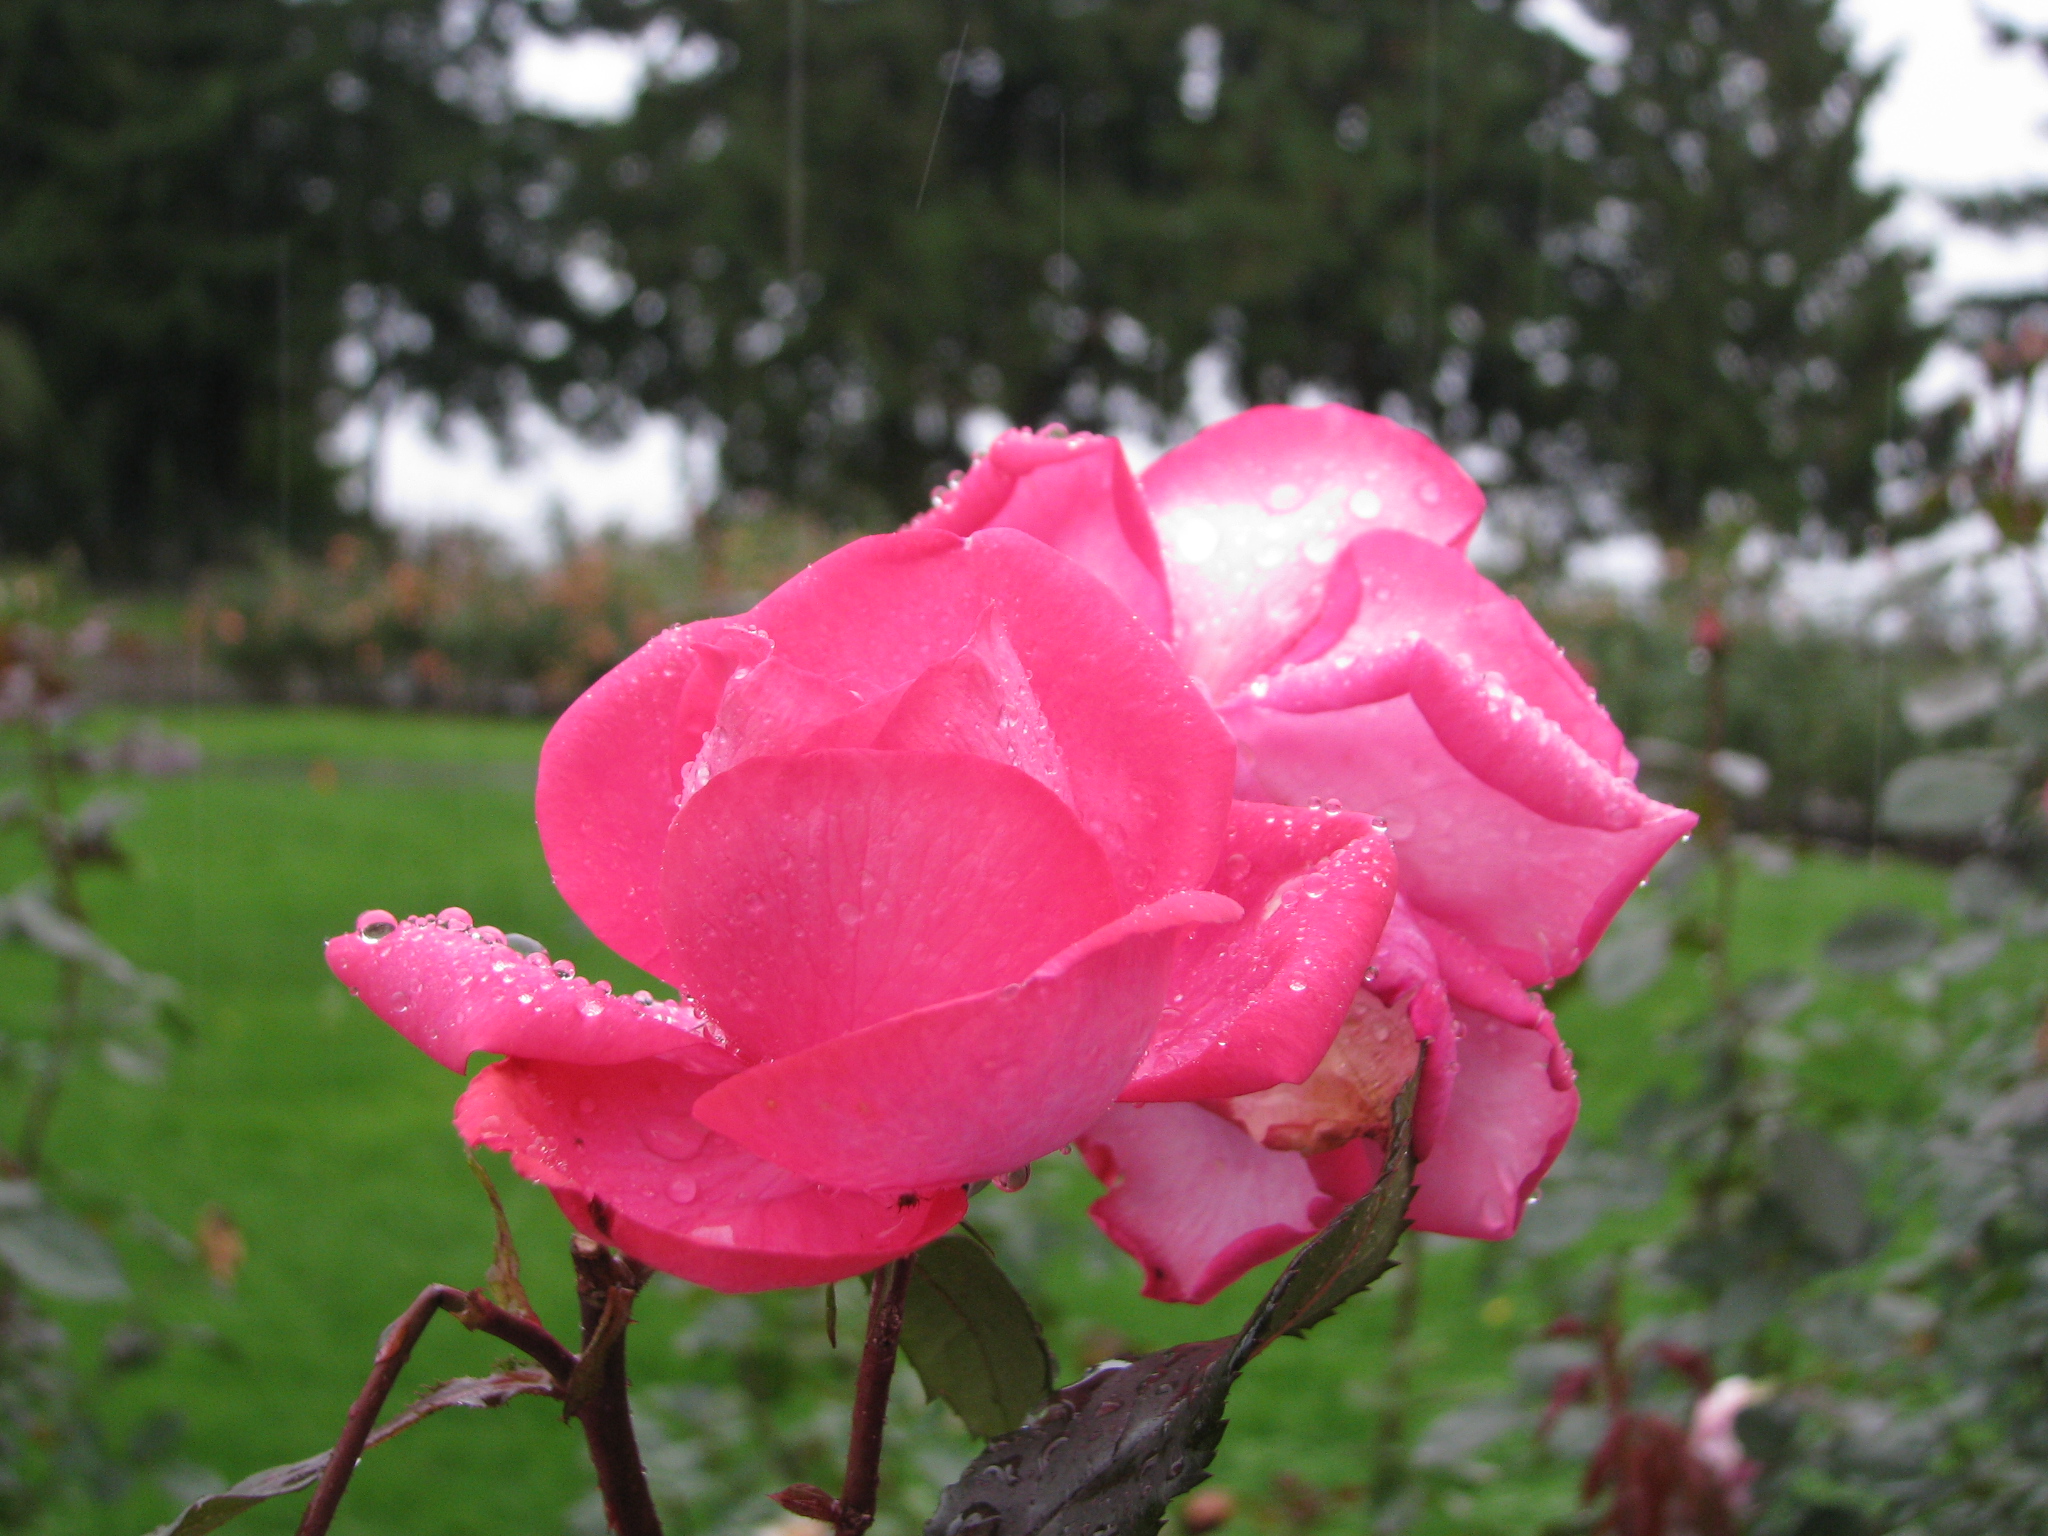
Here are some example shots compared with similar shots taken with an unmodified Canon camera. Click to embiggen.


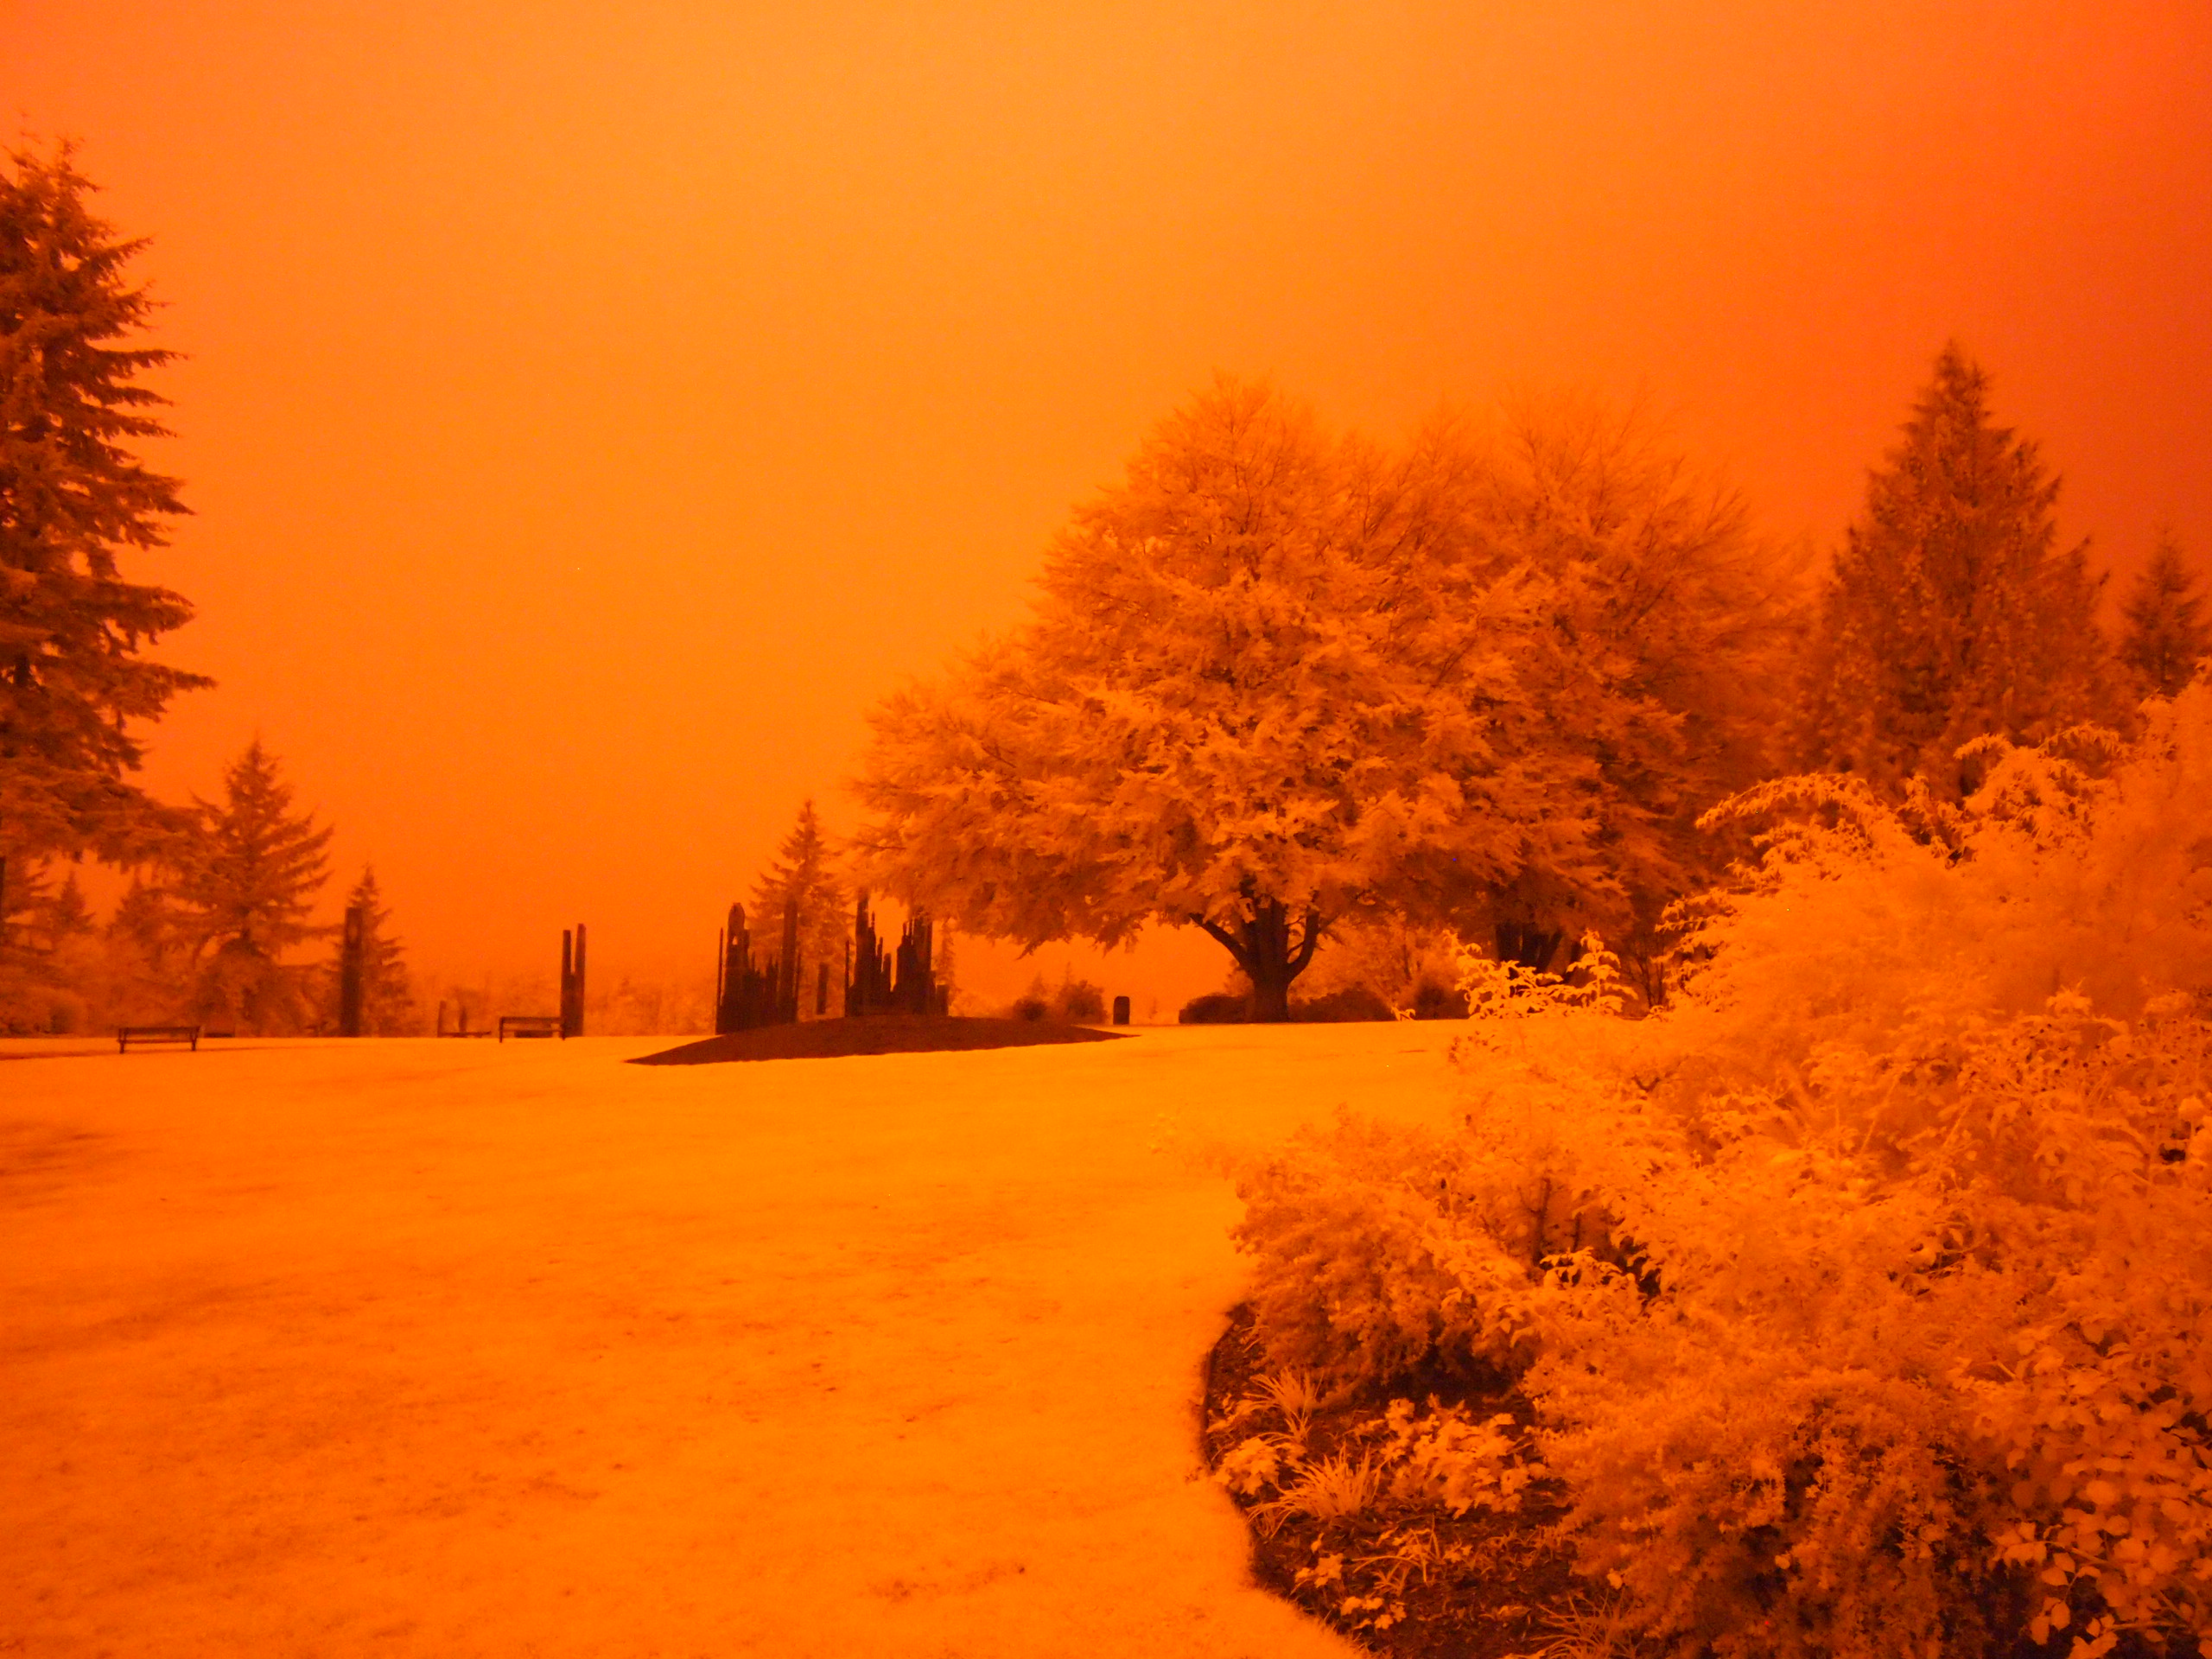
Finally, I tried some quick experiments with compositing the normal and IR shots together. This is a little tricky because I’m combining images from different cameras, different resolutions and different focal lengths, so the registration is poor. Also I haven’t thought of the best way to manipulate the colors yet, but hey, experimentation!
Only took me 20 years…
The latest addition to my mad science lab: A device programmer.
There’s a lot of history behind this purchase.
Back when I was taking Electronics Engineering Technology in Toronto, twenty years ago, we had to do a sort of “mini-thesis” project in our final year. I really wanted to make an EPROM programmer for my project, because having one would enable me to incorporate stored-program components like microprocessors into my electronics hobby projects, and I couldn’t afford to buy one.
The instructor (hi, Darrell!) said this project wasn’t complex enough and would only be worth a ‘C’ grade at best, so I was forced to choose something else. But I’ve been wanting a device programmer ever since.
Lately I’ve been having a hankering to dust off the hobby and do some projects, and being able to use programmable devices is necessary for many of the projects I have in mind. I thought about making my own again, but I decided to check and see if prices on commercial models had got a little more reasonable. While I place value on doing stuff myself, making my own is now less interesting than the things I can do once I have one, so I’m willing to sacrifice some nerd cred in order to get to the good stuff faster.
Prices haven’t improved (most professional models are still in the thousands of dollars) but there are some cheap alternatives available now. I looked at what could be had from local dealers and from eBay, and I was tempted by these things called Willem programmers. They typically plug into a PC’s serial or parallel port, though some models now support USB, and they’re super cheap.
Unfortunately upon doing some research, I found that buying a Willem looked risky. Willems started out as a hobbyist design, which got picked up and mutated by others. There are now dozens of different models, many of which do not come with documentation or with functioning software – the Willem name has become so fragmented that there is even a visual identification guide to try to help people figure out which one they’ve got, so they can try to make it go. There are also some unscrupulous dealers doing things like naming their products “True Willem Programmer” to make it sound more credible than it is (“True” is part of the name, not a description).
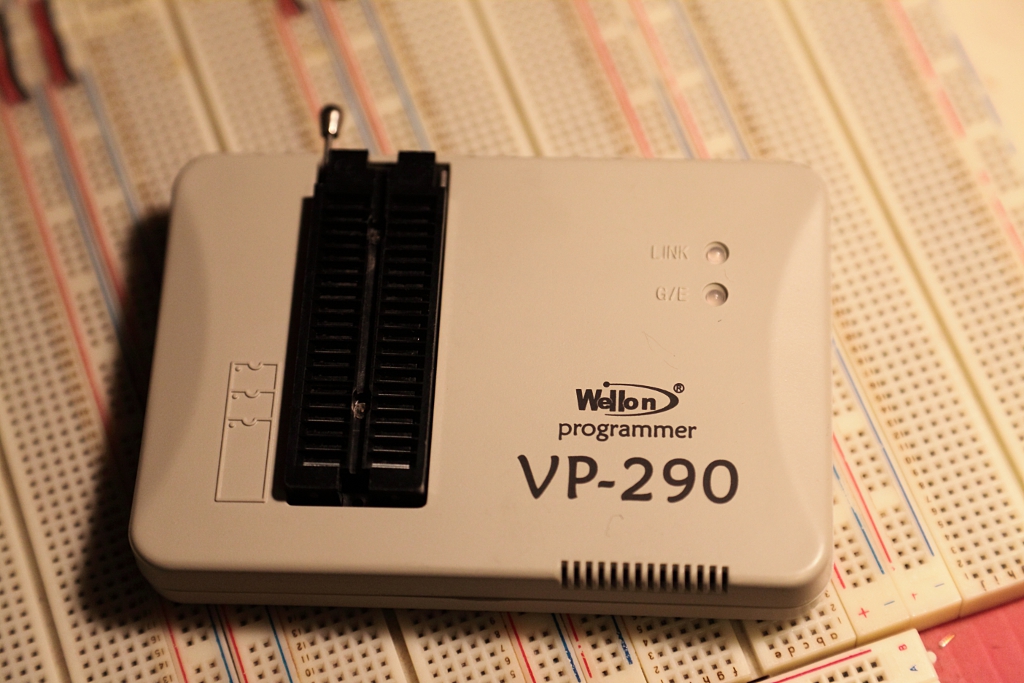
So I could go cheap and buy a Willem and risk having to spend a lot of time hunting down software, or maybe even reverse-engineering the thing to write my own, or I could drop a little more on a prosumer model. I settled on the Wellon VP-290 pictured above after reading some favorable reviews on hobbyist websites, and a brand new one set me back less than $200. It has an impressive list of supported devices, which more than covers my needs.
I haven’t actually burned any devices with it yet – I haven’t decided on my next project, let alone written the firmware. But I did test the programmer by reading out the contents of some old EPROMs I had sitting around, and while the software workflow isn’t slick, it’s good enough. I think this will prove to be a fruitful purchase.
So: I’m letting out a long sigh after twenty years of holding out. I had a lot of emotional investment in making my own device programmer – that initial rejection of the project idea got my hackles up and I never forgot it. But time heals all markets, and I’ve finally put it to rest and enabled myself to move on to bigger and better projects.